
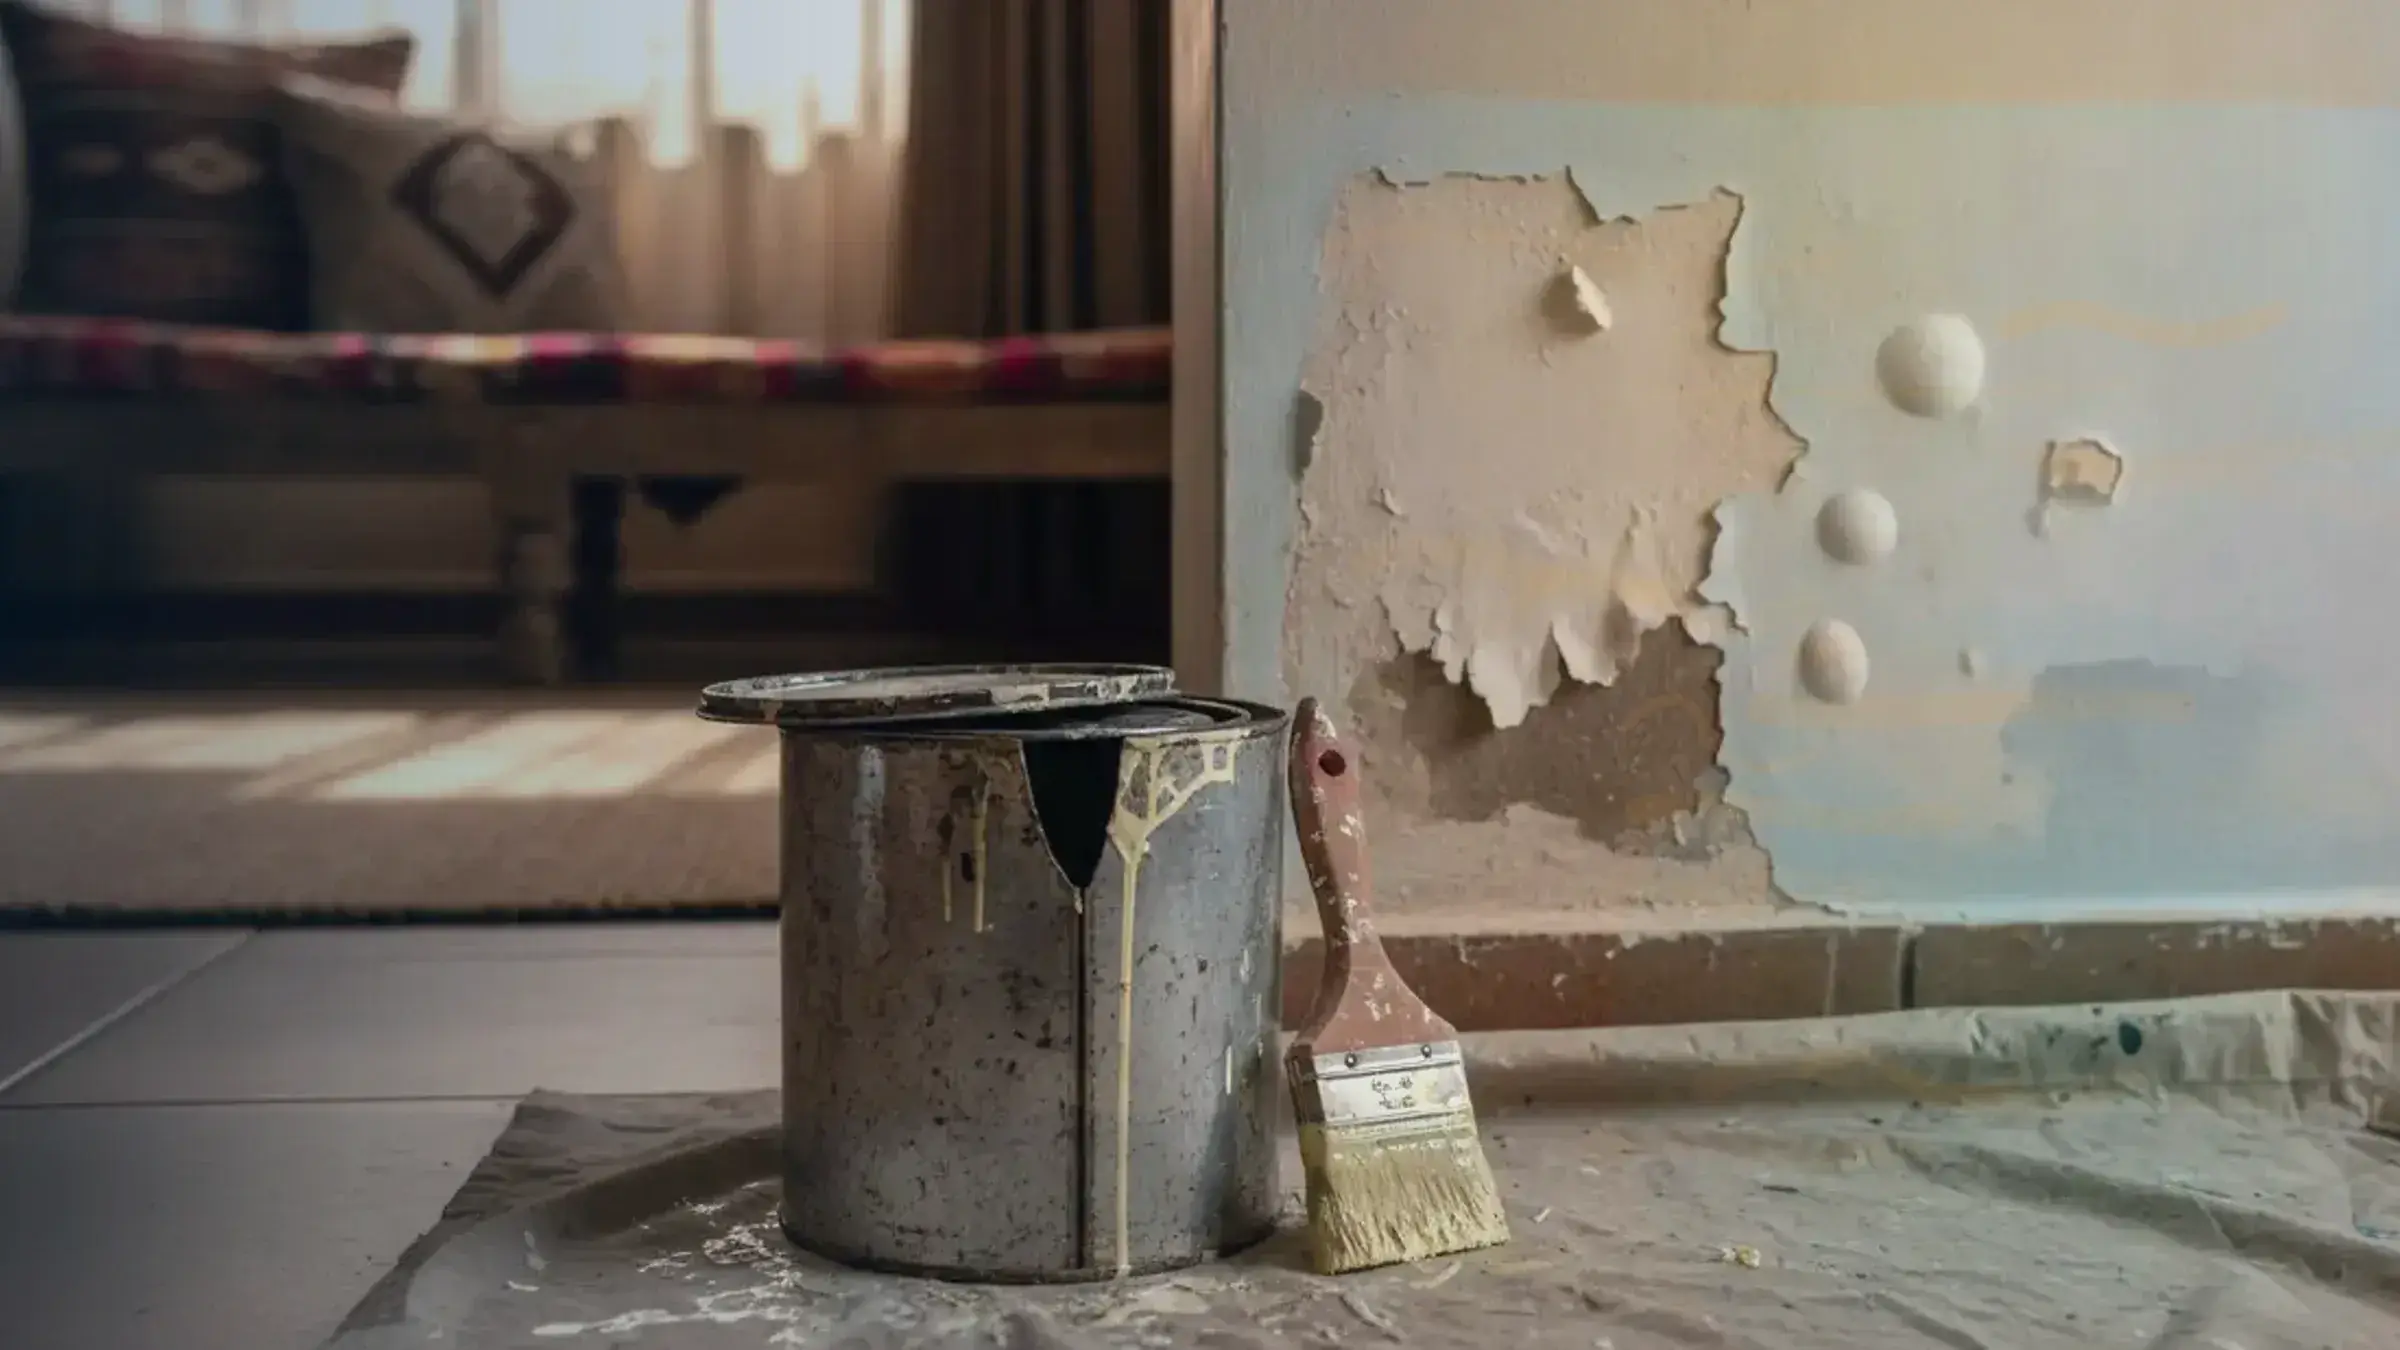
Common Paint Problems in South Africa
Peeling, cracking, damp, mould, stains, bubbling, and chalking – diagnose the fault, then price the fix
Quick answer
Common paint problems in South Africa diagnosed – peeling, cracking, damp, mould, stains, bubbling and chalking – with the fix and cost path for each.
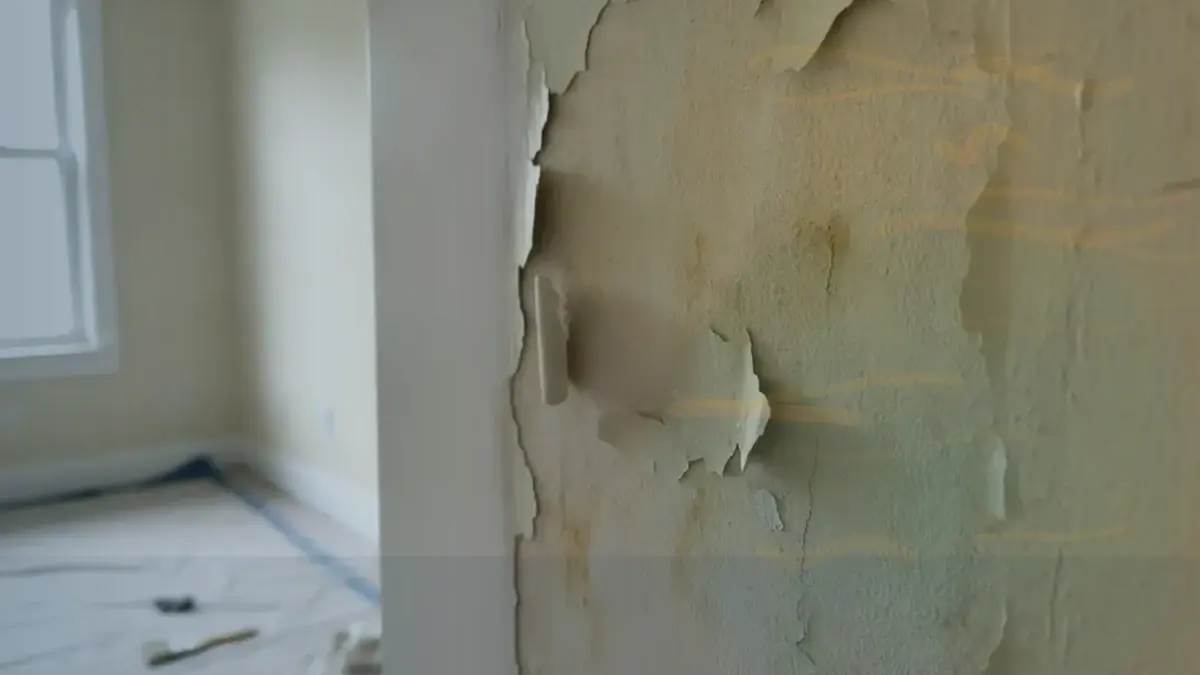
Why Is Paint Peeling Off Your Walls?
Damp, poor prep, incompatible coats, and sun-baked surfaces – find the cause before anyone repaints
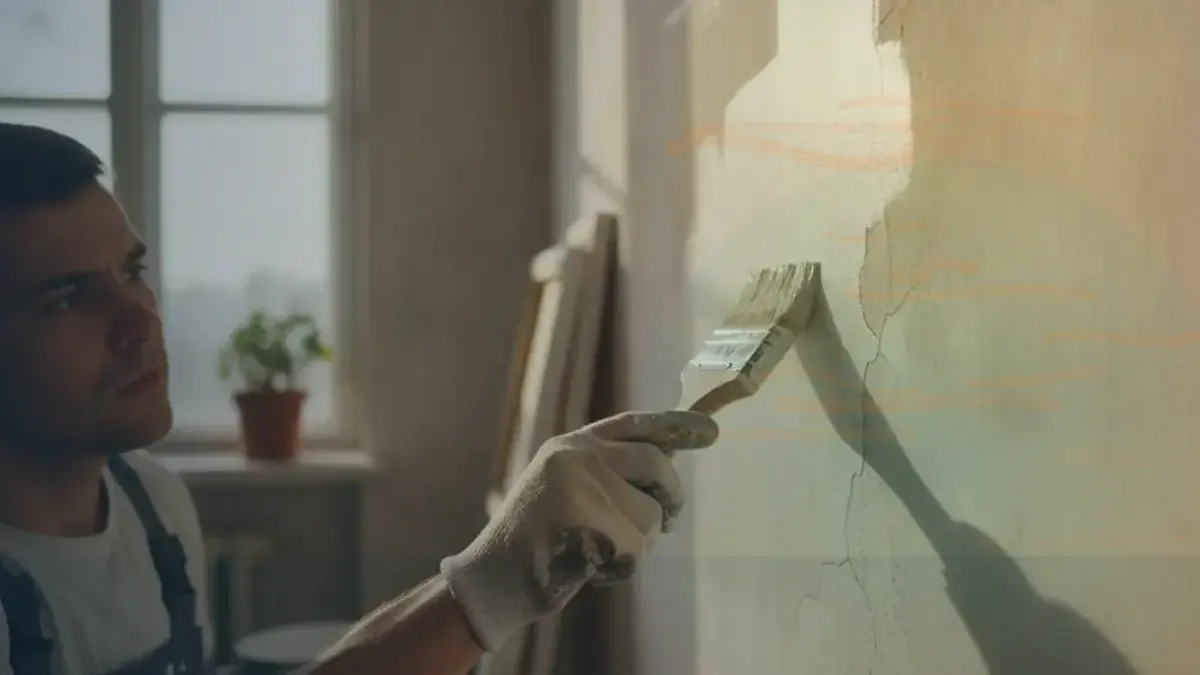
Painting Over Cracks in Walls: What Works and What Returns
Hairline crazing, settlement cracks, and movement joints – which can be filled and painted, and which come back
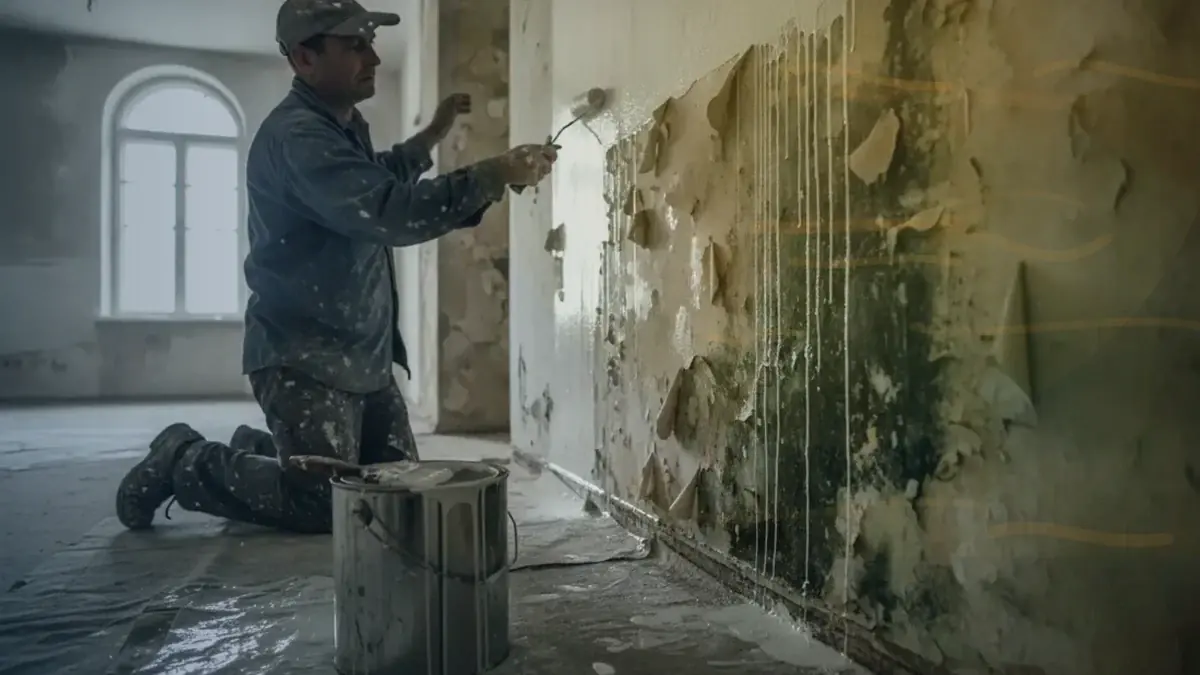
Can You Paint Over Damp Walls?
Rising, lateral, and condensation damp – how to tell them apart and why paint cannot fix any of them
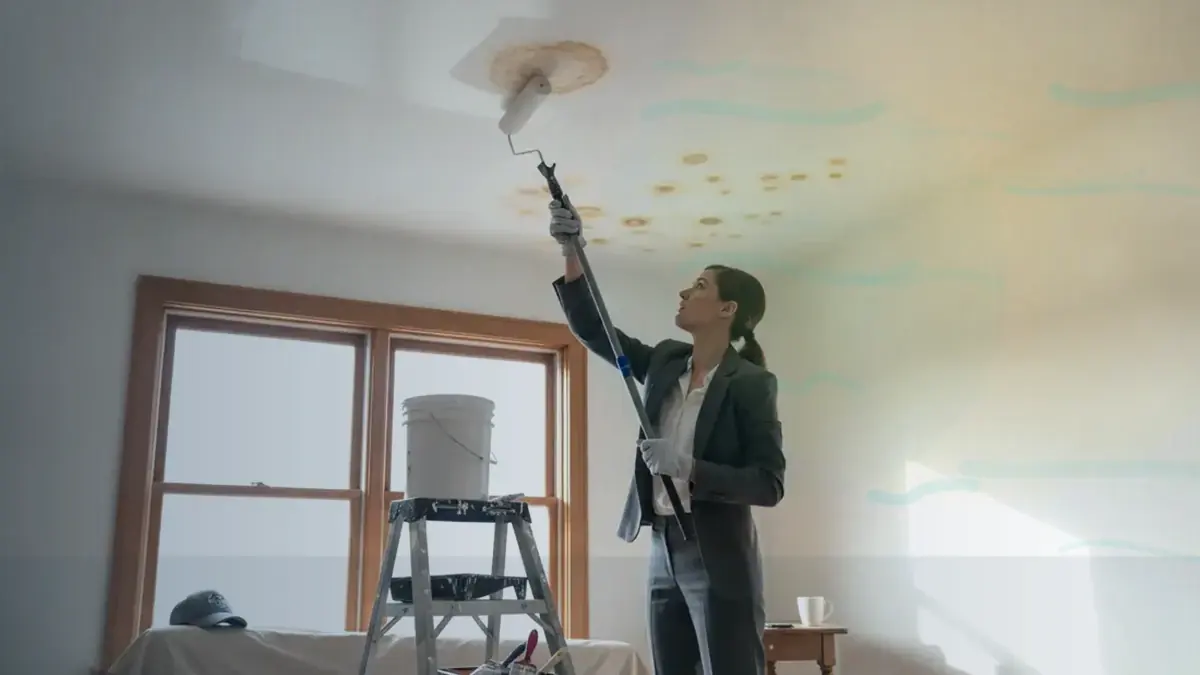
Painting Over Water Stains on Ceilings and Walls
Brown rings, tide marks, and yellowing patches – confirm the leak is dead, then seal before paint
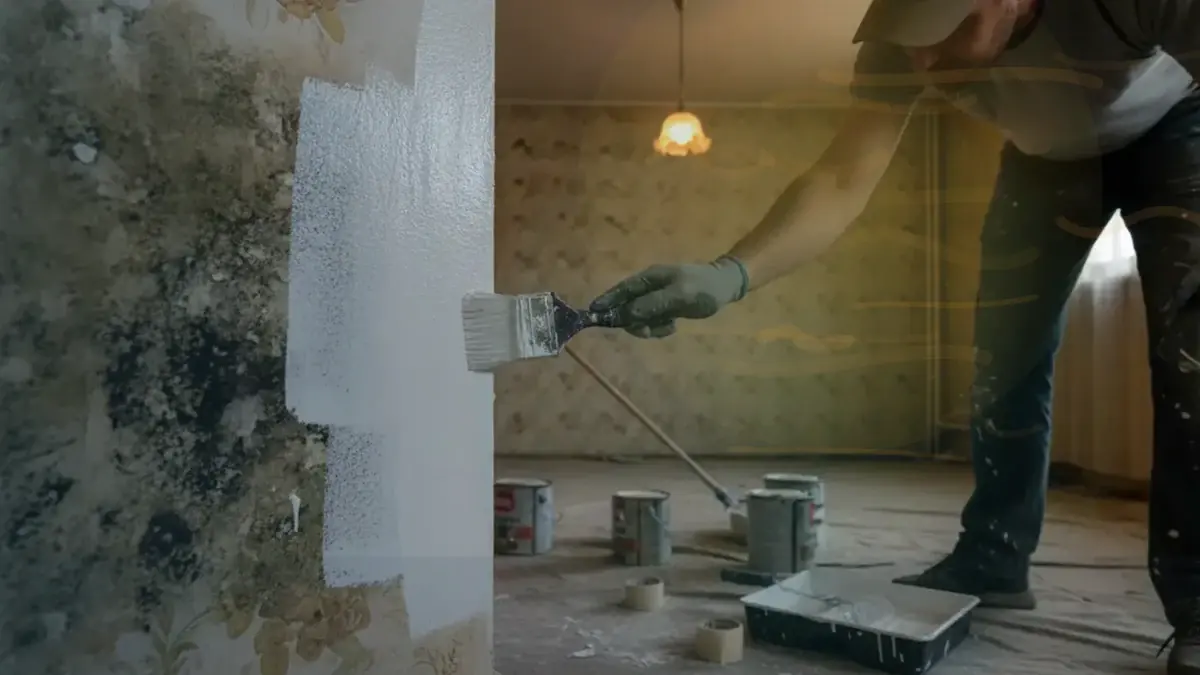
Painting Over Mould: Why It Fails and What Works
Black spotting in bathrooms, bedrooms, and behind cupboards – kill it, fix the moisture, then repaint
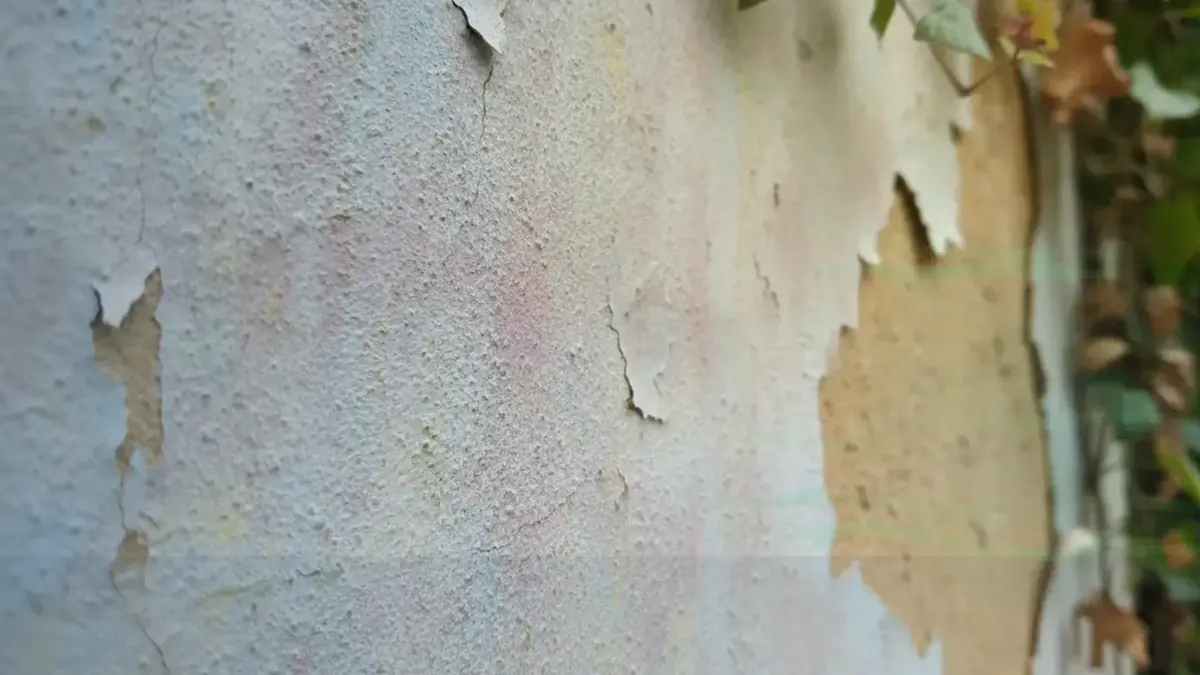
Chalky, Powdery Exterior Walls: Why Paint Rubs Off
UV-degraded coatings that leave white dust on your hand – test it, stabilise it, and repaint it properly
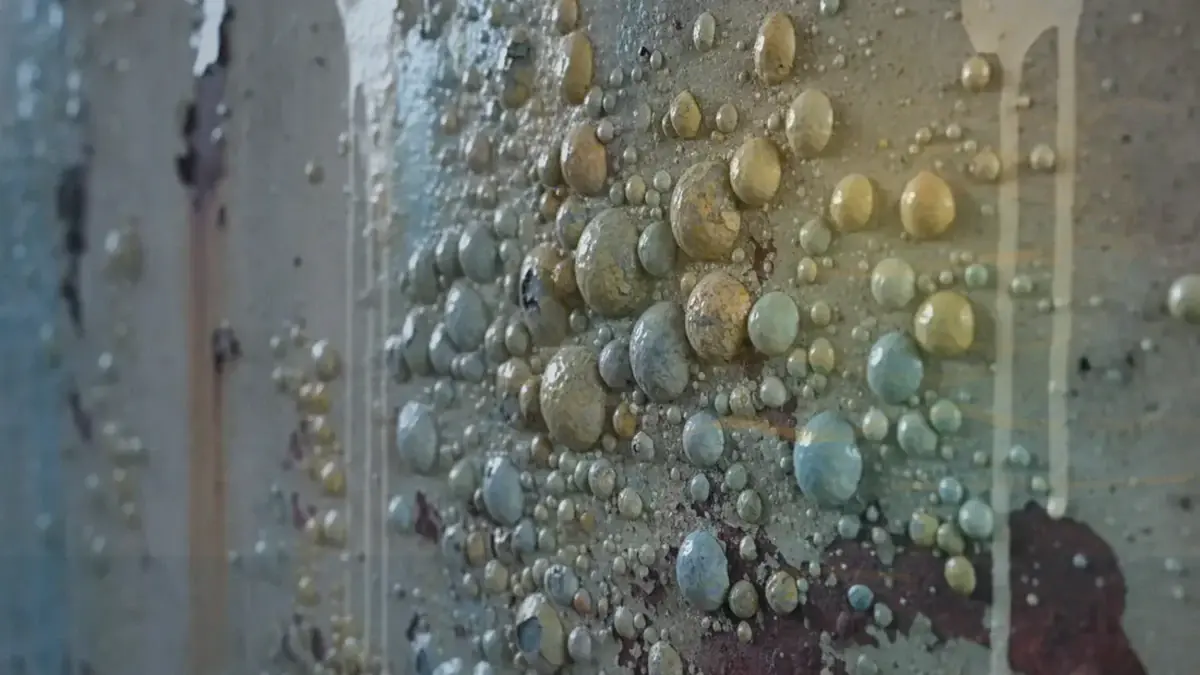
Bubbling and Blistering Paint: Causes and Fixes
Heat, moisture, and trapped solvents – why paint lifts into bubbles and how to repaint without a repeat
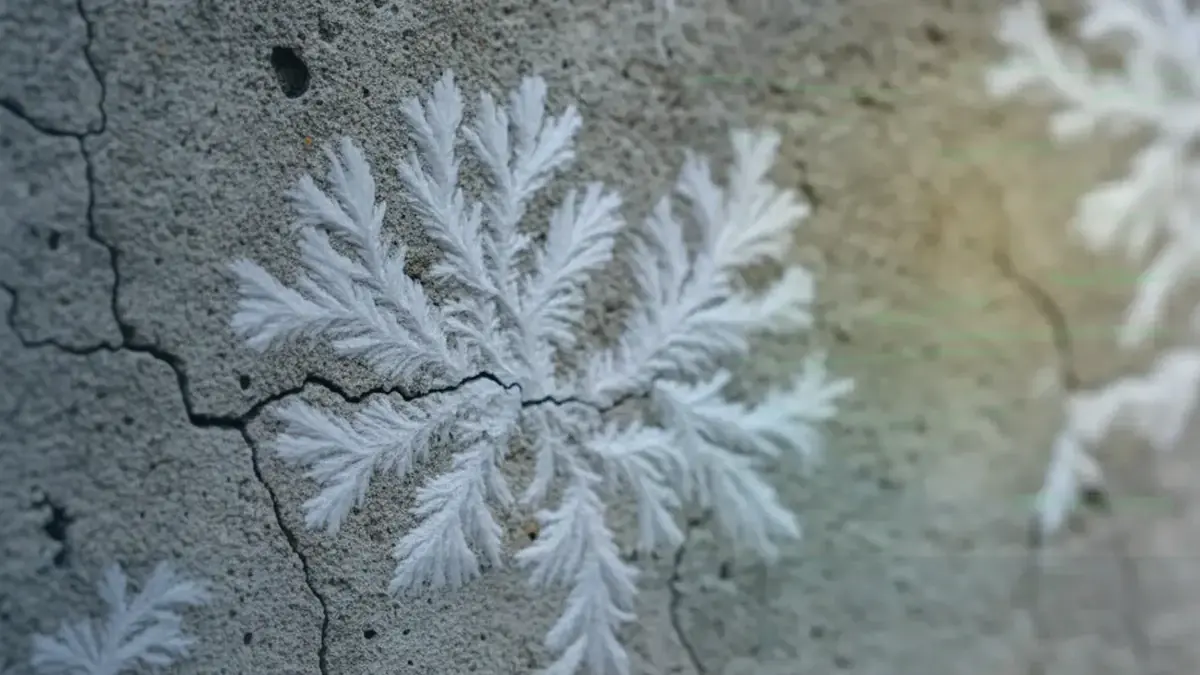
Efflorescence: White Salt Deposits on Walls
The fluffy white powder on brick, plaster, and cement walls – what it means and how to paint after it
21 min read
On this page
Common paint problems in South Africa can be costly, but our platform helps you find the best value for your project. Use paintingpricepersquaremeter.co.za to compare costs. Our pricing guidance ensures you understand the market before you start, and our quote request process allows you to receive up to 3 painting quotes from independent contractors.

Understanding why finishes fail is vital if you want to protect your property value. Our platform explains how local weather and surface condition affect adhesion and longevity.
We show what to budget for prep, materials, labour and access. You can use our pricing guidance to avoid expensive follow‑up work and get realistic quotes.
Would you rather guess the cost or get up to three independent quotes and a clear plan? Confirm terms and warranties in writing with your chosen contractor to protect your investment and ensure project success.
Understanding Common Paint Problems in South Africa
South Africa’s varied climate accelerates surface failure, so early diagnosis can save you significant repair costs.
Intense UV, heat swings and sudden storms strain finishes. These forces reduce lifespan and can make paints lose adhesion on walls and trim.
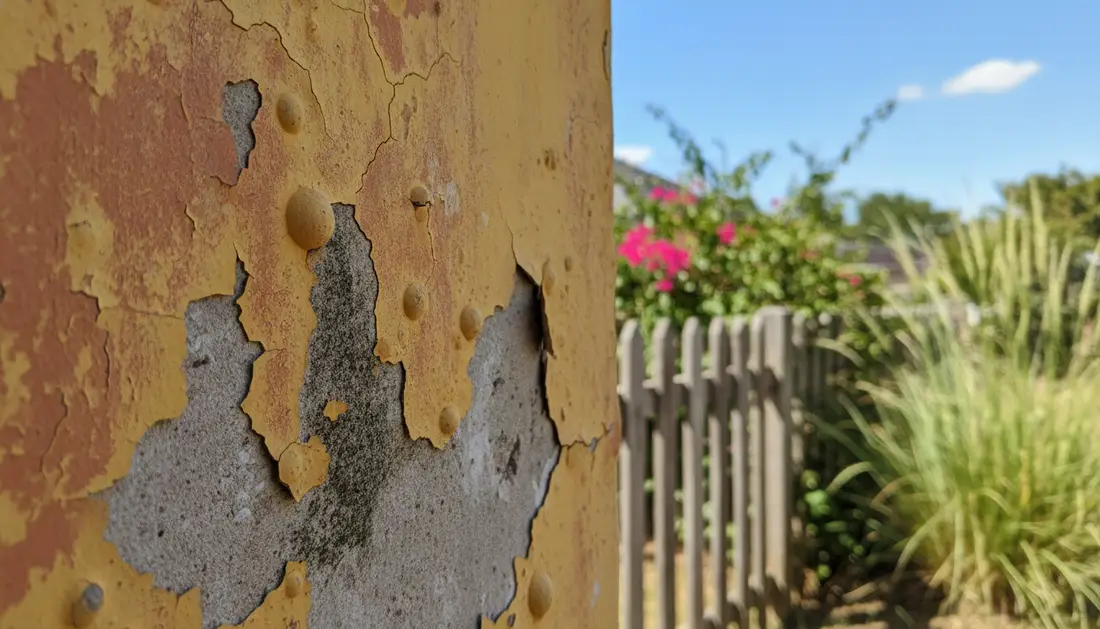
Spot issues early to avoid large-scale restoration. Small blisters, flaking or rapid colour fade often point to environmental stress or inadequate surface preparation.
- UV and temperature cycles weaken binders in many paints and speed erosion of exterior coatings.
- Moisture into walls encourages lift and blistering; untreated substrates will fail faster.
- Poor-quality paints or missed priming steps increase the risk of delamination.
- Professional painting considers local exposure, substrate type and access to ensure longevity.
Use our platform to compare pricing and find contractors who confirm prep, materials and warranties in writing. Acting early keeps costs down and preserves property value.
The Importance of Proper Surface Preparation
A correctly prepared substrate sets you up for years of reliable coating performance. Proper preparation reduces redo costs and protects your investment in South Africa’s climate.
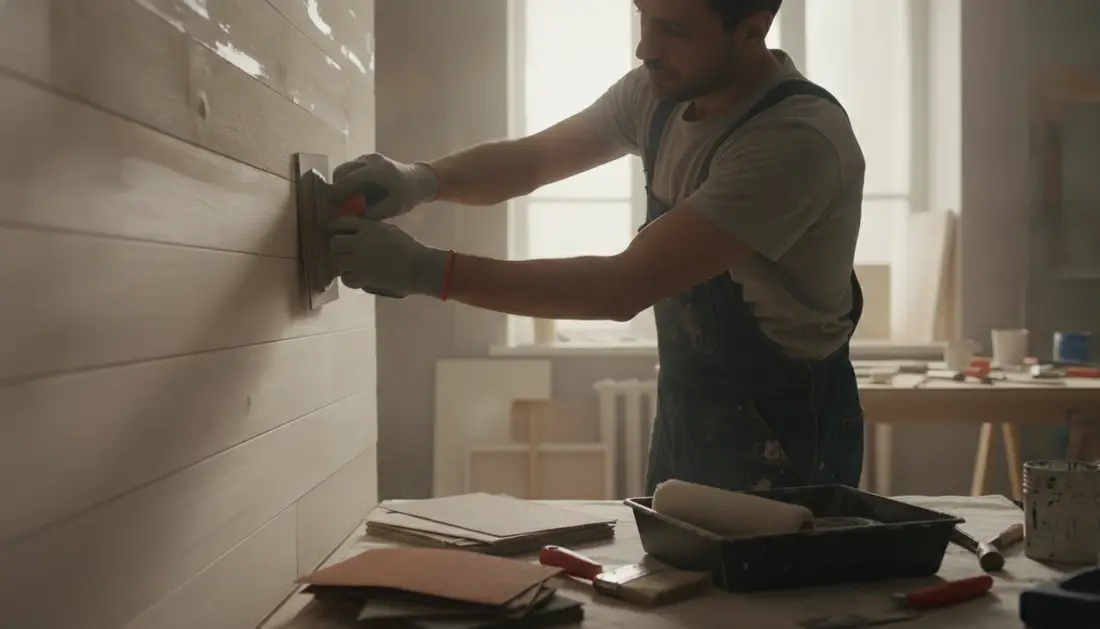
Surface Cleaning Techniques
Begin by removing dirt, grease and loose material. Use power washing for exterior walls and a stiff brush with detergent for detailed areas.
Allow surfaces to dry fully before any application. Trapped moisture under a new coat causes poor adhesion and early failure.
Priming Bare Substrates
Priming bare timber and masonry is non-negotiable. A correct primer seals fibres, blocks tannin bleed and gives a consistent base for the top coat.
Choose a primer suited to the substrate: oil-based for old hardwood, specialised masonry primer for rendered walls. This step improves coating life and saves on maintenance.
- Prep dictates longevity: poor surface work leads to peeling and early redecoration.
- Use the right primer for wood or masonry to reduce staining and ensure even application.
- Professional contractors factor prep into quotes because it affects labour and material costs.
Visual Diagnosis Grid for Property Faults
Identify surface distress quickly with a visual guide that links symptoms to likely causes.
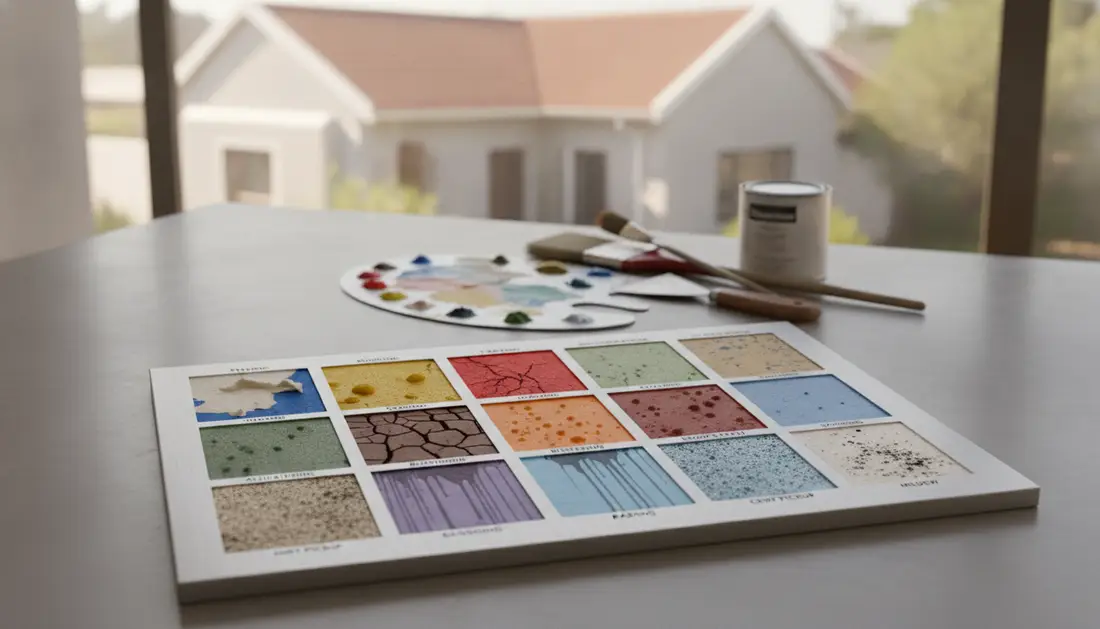
A visual diagnosis grid helps you match what you see—blistering, cracking or alligatoring—to recognised patterns. Use it to tell if the issue is only at the topcoat or within the underlying surface.
Alligatoring is an obvious film fault. The coating forms a scale‑like pattern when a rigid system splits on movement or an incompatible base was used.
- Exterior walls that show flaking or chalking usually mean the film is failing or the wrong paints were used.
- A methodical grid lets you separate simple surface defects from deeper structural causes.
“Document what you see — clear photos and notes help contractors give a precise quote.”
Tip: Upload images to our platform so contractors can assess prep, coating choice and labour needs accurately. Clear visual cues let you discuss fixes and warranties with confidence.
Triage Sequence for Effective Repairs
An orderly sequence — identify, fix, prep, then coat — protects your investment and keeps repair costs down.
The Identify Fix Prep Paint Workflow
Identify the root cause first. Look for moisture, leaks, or structural movement rather than treating the visible surface alone.
Fix the underlying issue before any decorative work. Repair leaking roofs, seal cracks and correct drainage so the fault cannot return.
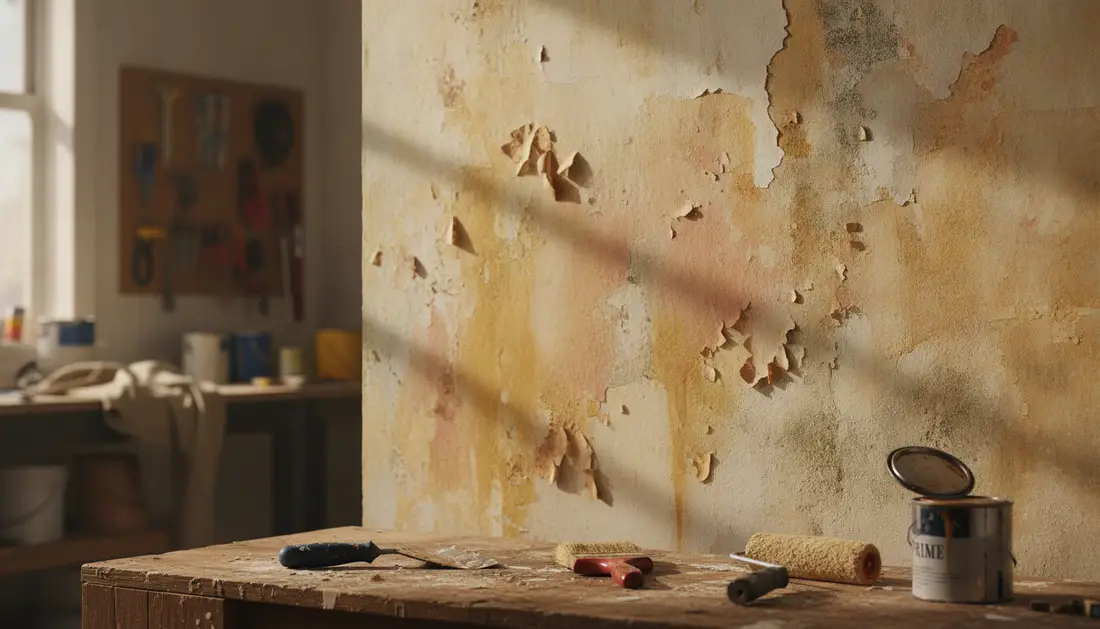
Prep each surface area carefully. Sand loose material, clean dust and salts, and apply the correct primer to stabilise the base.
Paint only when the area is dry and the site conditions suit the application. Use quality paints and follow the manufacturer’s guidance on coats and drying times.
- The identify‑fix‑prep‑paint workflow is the industry standard for durable repairs.
- Correct prep reduces redo costs and helps new coats blend with existing finishes.
- A structured approach prevents recurrence and protects property value.
“Fix the cause, not just the symptom — it saves money and time.”
Identifying Alligatoring and Cracking Patterns
When a hard top coat sits over a softer base, the surface often develops a scale-like fracture known as alligatoring.
Alligatoring is a distinct cracking pattern in the surface paint film. It appears when the top coat loses elasticity or when ageing oil-based finishes harden.
Cracking often starts as hairline fractures. Left unattended, these lines can widen and lead to flaking.
- Check whether the cracks go down to the substrate or remain in the top layer.
- If damage is severe, the old layer must be completely removed using a scraper or heat gun.
- Contractors use a wire brush to clear loose material before any new coating or primer application.
Tip: Use a high-quality water-based primer and top-quality exterior paints to reduce recurrence. For wood surfaces, match primer to the substrate to improve adhesion and flexibility.
| Issue | Action | Typical cost factor |
|---|---|---|
| Surface cracking only | Brush out loose flakes, abrade, prime and recoat | Low (prep + labour) |
| Film failure to substrate | Remove old film, apply primer, new coating | Medium–High (removal & prep) |
| Ageing oil-based alligatoring | Strip fully, use water-based primer and finish | High (specialist removal) |
Managing Blistering and Moisture Issues
Blisters on exterior walls often signal trapped moisture or incorrect application on hot surfaces. Left unchecked, a failing paint film will bubble, lift and begin flaking. Quick action stops wider damage and lowers repair costs.
Exterior Wall Moisture Sources
Check gutters, downpipes and roof flashings for leaks. Rising damp or poor drainage beneath slabs can push moisture into walls.
Blocked cavities and cracked render also allow vapour to escape through the film. Managing these sources is the primary defence against blistering. Fix leaks before you recoat.
Latex versus Oil Based Paints
Latex and water-based paints are generally more breathable than oil systems. On damp-prone exterior areas they reduce the risk of trapped vapour lifting the film.
If paint is applied to a warm or damp surface, trapped water will force the film to lift and cause flaking and cracking later.
Practical step: Allow the substrate to dry fully until the wall is consistently paint dry. Severe blistering needs scraping back to the substrate, priming and then a correct coating application.
Addressing Chalking and Surface Erosion
Chalking shows as a dusty film on exterior surfaces and signals binder breakdown in the paint film.
Left unchecked, this fine powder causes colour loss and a dull finish on your walls.
Do this first: remove much of the dusty residue with a stiff bristle brush or a light power wash.
- Brush or wash to clear dirt and chalk before any new coat.
- If the old surface paint is still sound, you may not need a primer; choose a quality exterior coating instead.
- Use paints rated for strong sun to reduce erosion of the film and fading of colour.
Tip: Regular cleaning prevents build-up and preserves adhesion of the new coating.
“A clean substrate gives the best chance of a long-lasting finish.”
| Symptom | Immediate action | Follow-up |
|---|---|---|
| Light chalking | Brush off, wash, check adhesion | Recoat with quality exterior paints |
| Heavy erosion | Power wash, abrade to sound substrate | Apply primer then two coats of coating |
| Colour fading | Remove dirt and chalk, assess film | Choose UV-stable surface paint |
Solutions for Mould and Fungal Growth
Damp, shaded spots — like under eaves or behind cupboards — invite mould to colonise surfaces. Mould shows as black, grey or brown spots on the paint surface and thrives where sunlight and airflow are limited.
Step one: clean the affected surface with a diluted bleach solution to kill spores. Rinse with water and allow the area to dry fully before any repair.
Preventing recurrence in damp areas
Address the source of moisture. Improve ventilation, fit extractor fans in kitchens and bathrooms, and check gutters and downpipes on exterior walls.
- Prime bare wood or masonry before you apply a new coat to protect the substrate.
- Use high-quality, mould-resistant paints in humid areas to reduce return of growth.
- Regularly inspect vulnerable areas and remove dirt with a soft brush to keep surfaces sound.
Tip: Treating the visible marks without fixing moisture will only delay the fix. Confirm in writing what contractor work includes: source repairs, prep, primer and final coat.
Dealing with Efflorescence and Salt Deposits
Efflorescence looks like a dusty white bloom on masonry and indicates salts travelling with moisture through the substrate. Left unaddressed, salts will reappear and force a new coat to flake or lose adhesion.
Begin by removing loose salt with a stiff wire brush or a light power wash. Clear all visible residue and any embedded dirt so the new paint film can bond to a clean surface.
Correcting Lapping and Application Errors
After salts are removed, allow the wall to dry fully. If moisture continues to migrate, the white deposits will return and ruin your finish.
- Use an alkali-resistant primer on fresh masonry to protect the coating from high pH.
- Apply a quality sealer to block salt migration before you apply exterior coats or white paint.
- Consult a professional if efflorescence persists; it may signal rising damp, leaks, or a deeper moisture path.
| Symptom | Immediate action | Prevention |
|---|---|---|
| Loose white salts | Wire brush or power wash, rinse with clean water | Alkali-resistant primer + sealer before coating |
| Recurring deposits | Investigate moisture source, repair leaks or drainage | Fix substrate moisture, then recoat with suitable paints |
| Film flaking after recoat | Strip failing film to sound substrate, re‑prepare | Ensure full dryness and use correct primer for adhesion |
Correcting Lapping and Application Errors
Lapping appears when a wet edge meets a dry one and the finish shows a denser colour or higher gloss band.
To avoid this, keep each surface edge wet while you work. Always apply the next stroke toward the unpainted area, then pull back into the just‑finished section to blend the wet dry join.
Use the right roller nap for the substrate and a good quality roller to ensure even application. The wrong type roller or a thick coat creates texture differences and uneven gloss.
With water-based paints, work in smaller, manageable areas because they can paint dry quickly. If the finish shows lapping after the job, sand the affected band lightly, remove dust with a soft brush, prime as needed and recoat while maintaining a wet edge.
- Plan corner‑to‑corner runs so you finish each area before it dries.
- Apply paint toward unpainted sections and back‑blend into the wet edge.
- Choose suitable rollers and work in short passes with consistent pressure.
“Good planning and the right roller save time and reduce rework.”
Fixing Nail Head Rusting and Staining
Reddish staining around nail heads often signals corrosion beneath the surface coat. This happens where non-galvanised iron fixings oxidise and the rust bleeds through the new top coat.
For small stains, countersink the nail heads, remove any loose dirt, and fill the recess with a high-quality, water-based acrylic caulk. Spot-prime the filled area with a stain-resistant primer before you apply the final coat.
If rust has already bled through, sand the mark back to the substrate. Clean the area with a damp brush and allow it to dry. Then apply a specific stain-blocking primer and finish with two matching coats of exterior paints.
- Use galvanised nails on exterior wood and timber-clad areas to prevent recurrence.
- Regularly inspect vulnerable surfaces and remove early staining to avoid larger repairs.
- Tip: good prep improves adhesion of the new film and reduces future flaking.
“Preventive fixings and right primers save you time and redecoration cost.”
Our platform recommends confirming in writing that your contractor will replace corroded fixings, countersink and use a stain-blocking system before final coating. That keeps colour consistent and the surface film durable.
Resolving Interior Blocking and Burnishing
Doors, sashes and joined surfaces in busy homes can stick or shine where finishes meet. Blocking and burnishing both reduce the look and function of interior coatings.
Blocking happens when two freshly coated surfaces touch before the top coat has had time to allow dry. This is most common on doors, window sills and cabinet faces. To prevent it, always follow the label’s guidance and allow dry times between coats and before closing a door.
Burnishing is an unwanted rise in gloss when a flat film is rubbed. High-traffic areas show a sheen increase over time, especially where softer finishes were used.
High Traffic Area Considerations
Use a tougher finish where cleaning and rubbing occur. A premium semi-gloss or gloss paint gives better abrasion resistance and less flaking paint over time.
- Fit protective trims or kick plates on wood doors to reduce contact.
- For corridors and kitchens, choose a higher sheen to resist burnishing.
- If moisture is a factor, ensure surfaces are dry before recoating to protect adhesion.
Choosing the Right Sheen
Higher sheen levels hide dirt and resist rubbing but can highlight wall imperfections. Balance durability with appearance when you select gloss paints.
Use a short nap roller for gloss paints to achieve a smooth finish and avoid cratering from the wrong type of tool. When painting doors and jambs, confirm the recommended dry time so surfaces do not block.
“Choose the right sheen for the use‑area — durability beats low sheen where rubbing is constant.”
| Issue | Best remedy | Notes |
|---|---|---|
| Blocking (doors/jambs) | Allow full dry time; use semi‑gloss; fit spacers during curing | Follow label drying times; recoat only when surface is paint dry |
| Burnishing in corridors | Recoat with higher sheen; use wash‑resistant gloss paints | Higher sheen resists rubs but shows surface texture |
| Shiny patches on matt walls | Spot‑sand, prime and recoat with durable mid‑sheen | Short nap roller for blending; avoid wet dry joins |
Symptom to Cause Quick Reference Table
Match what you see on the wall to the likely failure mode so your repairs target the root cause. A quick table saves time and helps you plan correct prep and labour.
- If a thick coat has wrinkled, the cause is usually heavy application in hot conditions or slow drying between coats.
- When the underlying surface was greasy or dusty, new coatings will not bond and the paint film will lift.
- Using the wrong type of roller can cause foaming or cratering, leaving small pits as the film sets.
| Symptom | Likely cause | Immediate action |
|---|---|---|
| Cracking or alligatoring | Old hard finish under flexible top coat | Remove loose film, prime and recoat |
| Wrinkling after paint applied | Thick coat / hot conditions | Strip to sound film, allow area to cool, apply thinner coats |
| Foaming / small craters | Wrong type of roller or over‑working | Remove much of the defect, use correct roller and recoat |
| Early lifting | Contaminated or damp substrate | Clean, allow to dry until paint dry, prime before repainting |
Use this guide to decide whether you need simple prep, a specialist contractor visit, or a full strip and recoat. Our platform helps you compare quotes for the right scope of work across South Africa.
“Diagnose first, fix the cause — not just the visible surface.”
Factors Influencing Professional Painting Costs
Knowing the cost drivers helps you compare quotes and avoid surprises.
Scope and surface condition are the first cost factors. Larger areas need more materials and longer labour. Worn or damaged walls increase prep time and raise the price.
Paint type matters. Budget options reduce material cost but may shorten life. Premium paints cost more up front and often give better durability in our climate.
Access and labour change the quote. High-access work, scaffolding or intricate trim needs skilled teams and higher rates. Regional labour rates across South Africa also vary.
- Proper preparation is a major line item but essential for lasting results.
- Ask contractors how they price surface repairs, primers and number of coats.
- Request a written, itemised quote so you can compare paints, labour and any allowances for hidden defects.
“Get a detailed breakdown to see where costs are and why they vary.”
Ensuring Long Term Durability and Warranties
Long-lasting finishes start with the right materials and clear, written guarantees. Use quality paints and follow the manufacturer’s instructions for every coat paint you apply. This reduces early failure and gives better UV and moisture resistance for exterior walls.
Ask your contractor to confirm warranties in writing. The document should state what is covered, the duration and who is responsible for labour and materials. A clear warranty protects your investment and sets expectations if repairs are needed.
If the old layer is not completely removed where necessary, adhesion suffers and the new paint film can fail. For timber and wood substrates, strip or abrade to sound timber, then apply an appropriate primer before the first coat.
- Second coat is often essential for full coverage and durability, especially over dark colours or porous surfaces.
- Use manufacturer-approved coating systems and observe recommended drying times between coats.
- Plan regular maintenance: clean exterior surfaces and inspect the paint film every year to spot wear early.
“Confirm warranties and the scope of work in writing — it’s the best way to protect the finish and your budget.”
Our platform encourages you to choose contractors who stand by their work with clear, written warranties and who list materials, primer and number of coats in their quote. That helps you compare prices and secure lasting results across South Africa.
Taking the Next Step with Your Painting Project
Make your next repair straightforward and cost‑aware. Use our quote process to see realistic costs for surface prep, primer and finishing paint in your area.
Request up to three independent quotes via paintingpricepersquaremeter.co.za. Compare prices, scope and recommended coats—whether the job needs standard painting or a specific coat paint system.
Our pricing guidance helps you avoid overpaying. Contractors handle site visits, final quotes, timelines and written warranties so you know what is included.
Start today: visit paintingpricepersquaremeter.co.za or call our customer care centre on 011 389‑4746 for help with your repair quote and next steps.
Common paint problems, one by one
Most failures trace back to moisture, so when damp is behind it start with can you paint over damp walls, painting over mould, efflorescence (white salt deposits) and painting over water stains on ceilings.
When the paint itself is lifting or ageing, read why is paint peeling off your walls, bubbling and blistering paint, chalky, powdery exterior walls and painting over cracks in walls.
Whatever the cause, every lasting fix starts with proper preparation, so the budgeting sits on prep work pricing.
Once you know what the job needs, you can request a painting quote.
FAQ
What are the most frequent painting faults in South African homes and apartments?
The typical faults include flaking or peeling film, cracking and alligatoring, blistering from moisture, chalking and surface erosion, mould or fungal growth, efflorescence (salt deposits) on masonry, poor sheen or burnishing in high-traffic areas, and nail-head rust staining. These arise from poor surface prep, wrong paint type, damp substrates, inadequate priming, or incorrect application techniques.
How should I diagnose whether paint is failing due to moisture or poor adhesion?
Do a simple wet/dry and adhesion check. Press a strip of clear tape to the film and pull — if paint lifts easily it’s an adhesion failure. Damp patches, blistering, or salt deposits point to moisture ingress. Scrape a small area: if underlying substrate is sound but paint flakes, you likely have adhesion or poor prep. If masonry powder (white residue) appears, it’s efflorescence from rising or penetrating moisture.
What prep steps are essential before repainting exterior walls?
Clean surfaces to remove dirt, grease, chalk and loose film; remove salt deposits with a stiff brush and suitable cleaner; repair cracks and spalled render; prime bare masonry or timber with a recommended primer; allow substrates to dry fully; and ensure compatible paint types are used. Proper prep reduces the need for repeat work and lowers overall cost per m².
When do I need a primer on bare wood, plaster or new masonry?
Always prime bare substrates. Timber needs a quality sealer or primer to prevent tannin bleed and to improve adhesion. New plaster or cement-based surfaces require a stabilising primer to equalise suction. Priming avoids patchy sheen, reduces topcoat consumption, and improves long-term durability.
How do oil-based (alkyd) and water-based (acrylic/latex) paints differ in performance?
Water-based paints dry faster, resist yellowing and clean up with water, making them a good choice for most South African interiors and exteriors. Oil-based coatings offer robust gloss and leveling but take longer to dry, yellow over time, and need solvent cleanup. Always match primer and topcoat compatibility to avoid adhesion and film-cracking issues.
What causes blistering and how can I fix it on exterior walls?
Blisters form when moisture or heat vapour gets trapped beneath the paint film. Sources include rising damp, plumbing leaks, or waterproofing failures. To fix, identify and eliminate the moisture source, remove loose film back to sound substrate, allow full drying, treat with a breathable masonry primer and apply suitable exterior acrylic coatings.
Why does paint chalk and how do I deal with it?
Chalking is the breakdown of binder in exterior coatings due to UV exposure and weathering. Remove chalk with a pressure wash or stiff brush and neutral cleaner, rinse thoroughly, allow to dry, then use a chalk-binding primer before repainting with quality exterior gloss or satin acrylic paint.
How do I remove mould and prevent recurrence in bathrooms or damp rooms?
Remove mould with a biocide or diluted bleach solution, scrub and rinse, repair any leaks and improve ventilation. After full drying, apply a mould-resistant primer and use a mildew-resistant water-based paint in high-humidity areas. Fixing the moisture cause is essential to prevent recurrence.
What is efflorescence and how should it be treated on brick or plaster?
Efflorescence is salt deposited on masonry as water evaporates. Brush off loose salt, wash with appropriate brick or masonry cleaner, allow full drying and locate the moisture source (rising damp, leaking gutters). Use a salt-blocking primer before repainting; do not seal with non-breathable coatings until salts are treated.
Why do I see lap marks or lapping when rollers are used, and how can I avoid them?
Lapping happens when edges dry before adjoining areas are rolled, or when paint is applied too thinly or inconsistently. Avoid by working in consistent wet edges, using correct roller naps for the substrate, applying even, full coats, and not over-brushing. In hot or windy conditions, work smaller sections to keep a wet edge.
How do I deal with rust stains from nail heads on timber ceilings or cladding?
Remove loose rust, treat metal fasteners with a rust-inhibiting primer or replace with galvanized/stainless fasteners, spot-prime stained areas with a stain-blocking primer, then topcoat. This prevents bleed-through and extends the life of the coating.
What sheen should I choose for high-traffic interior areas?
Use satin or low-sheen enamel in corridors, kitchens and living areas where washability and scuff resistance matter. Flat or dead-matte is suitable for ceilings and low-traffic walls to hide surface imperfections. Confirm actual sheen samples on-site because sheen affects perceived colour and durability.
How does surface condition affect professional painting costs per square metre in South Africa?
Poor substrate condition raises costs: extensive scraping, repairs, efflorescence treatment, damp remediation, or multiple priming coats increase labour and material use. Access difficulty, scaffolding, specialised primers or antifungal treatments also add to the per m² price. Always ask contractors to itemise prep work in the quote.
What should I confirm in writing when requesting quotes from painters?
Confirm scope of prep work, paint brands and product names, number of coats, primer specification, total m² covered, labour rate, estimated timeline, warranty terms, and who handles substrate repairs or moisture remediation. Request up to three independent quotes to compare costs and methods.
How long should I wait between coats and before light use after painting?
Follow the manufacturer’s instructions: water-based paints often allow recoating after 2–4 hours in ideal conditions; oil-based systems can take 16–24 hours or longer. Allow full cure (often 7–14 days) before heavy cleaning or moving furniture. Cooler, humid conditions slow drying times.
Can a thick final coat hide substrate defects and is that advisable?
Thick coats may temporarily conceal flaws but they often lead to wrinkling, sagging or adhesion failure. Proper repair, filling and priming produce a far better, longer-lasting finish and are more cost-effective over the life of the decoration.
When should I involve a specialist for moisture-related failures?
Call a specialist if you have persistent damp, rising damp, structural leaks, or widespread efflorescence. Painting alone won’t fix the root cause and will waste time and money. A damp specialist or waterproofing contractor can diagnose and recommend repairs before repainting.
Start with certainty