

Painting Over Mould: Why It Fails and What Works
Black spotting in bathrooms, bedrooms, and behind cupboards – kill it, fix the moisture, then repaint
Quick answer
Painting over mould fails because mould grows back through paint – how to kill it properly, fix the moisture behind it, and repaint so it stays gone.
17 min read
On this page
Painting over mould South Africa: get the best value by checking likely costs and prep time with paintingpricepersquaremeter.co.za.

Do you really solve the issue by covering fungal spots, or does that choice cost you more later?
Many homeowners try a quick coat to save money, but that often masks the real problem. Our platform offers clear pricing guidance and practical information so you can compare costs fairly.
Industry data shows 60% of professionals recommend waiting 1–2 weeks after damp proofing before you apply any paint. That time lets surfaces dry and reduces repeat issues.
Use our quote request process to connect with experienced contractors who can assess the cause of damp and give accurate quotes for services. This short guide gives you the core advice to protect your property and your budget.
Next, learn how proper prep and the right repairs beat a quick cover-up — and how paintingpricepersquaremeter.co.za helps you find trusted quotes.
What happens if you paint over mould?
Mould on interior surfaces is not just unsightly — it can be a health and structural risk if ignored, and diagnosing paint problems like this starts with the cause.
It is a living fungus that releases spores and may trigger respiratory problems for occupants. If you leave it untreated in a residential property, allergies and asthma can worsen.
Covering visible patches only masks the symptom. The spores often keep active behind a fresh layer and can spread into gaps and cavities.
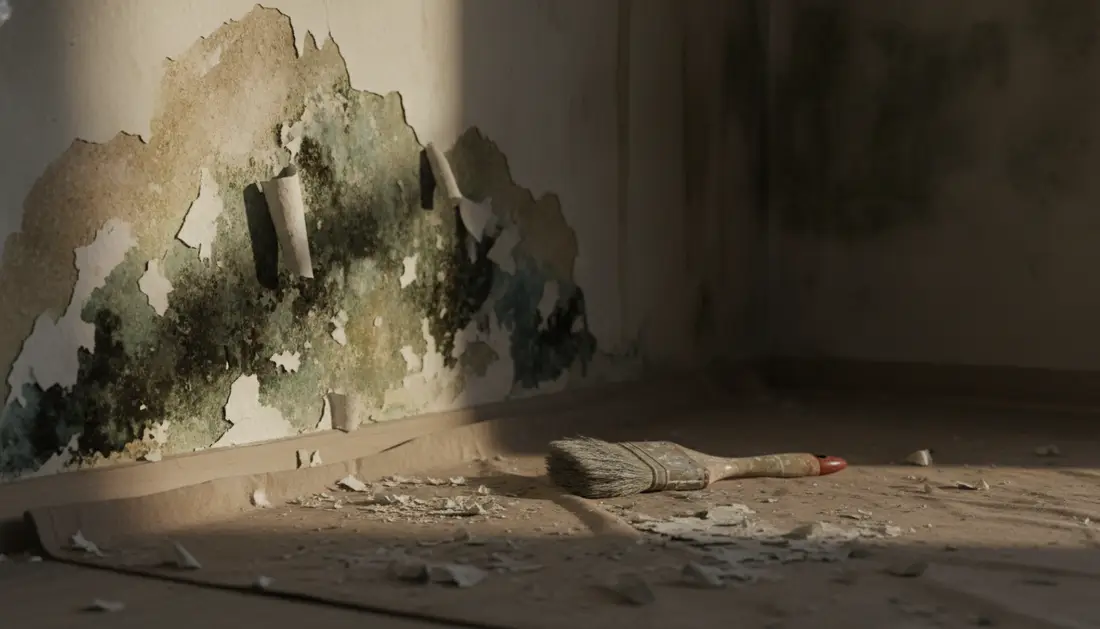
Left unchecked, the growth will feed on organic material in your walls and can speed up decay. That raises repair costs — see budgeting for damp repair — and can affect structural soundness.
- Health risk: increased respiratory and allergic reactions for residents.
- Hidden spread: spores continue to thrive behind surface coverings.
- Recurrence: quick fixes rarely prevent a fast return of the problem.
Get a professional assessment to identify root causes and true costs. A proper diagnosis helps you compare quotes, budget for correct repairs, and protect your home long term.
Why doesn’t painting over mould work?
A quick top coat rarely stops fungal growth and usually hides a deeper issue.
The fungal nature of growth means spores are living, microscopic organisms. They embed in porous surfaces like plaster and wallpaper backing. Unless you remove or kill spores, they will survive beneath a new finish.
Bleach can remove stains on plain white walls, but it strips colour and does not reach every spore. That limits its usefulness in a sensitive room like a bathroom, where what bathroom painting costs accounts for moisture-resistant finishes.
The fungus keeps working
Applying a fresh coat will not kill spores. The fungus can push through paint and reappear as blotches or stains. In damp areas, trapped water makes the surface blister, flake and peel from the plaster.
Why paint cannot kill spores
Even premium finishes do not stop the water that feeds the growth. Our experience shows such a job wastes time and money. Treating these areas requires specific chemical action and drying time before any primer or colour is applied; matt, eggshell, satin or gloss helps you choose a wipeable finish.
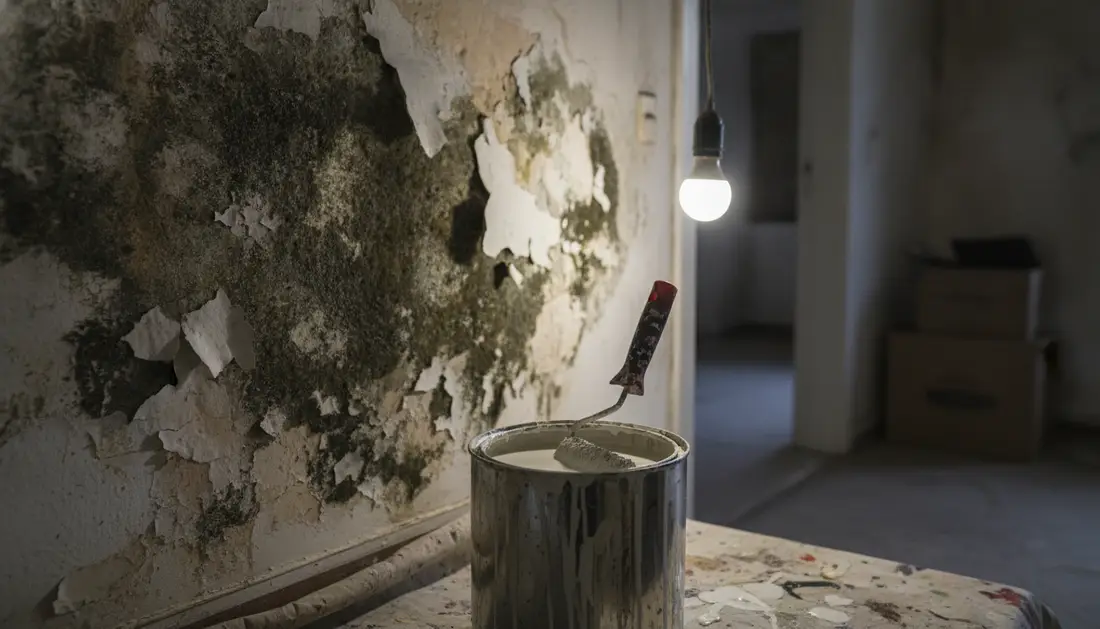
- Key point: use a systematic treatment to kill mould spores before any final coat.
- Practical tip: confirm surface is dry and free of stains before you choose a colour or wallpaper.
Identifying the Root Cause of Damp and Mould
If you want mould to stay away, start by locating the moisture that feeds it.
Check for rising damp, condensation or leaks — why damp keeps coming back explains the sources. Rising damp from the ground needs different repair work to condensation that forms on cold windows.
Poor ventilation traps warm, moist air inside a property. That creates the ideal conditions for growth on walls and ceilings.

“Fix the source of moisture first; cosmetic fixes only delay the real repair.”
Common issues to inspect:
- Blocked vents or no extractor fans causing condensation.
- Leaking pipes, faulty gutters or roof damage introducing moisture.
- Rising damp from ground-level walls where damp-proofing has failed.
| Cause | Sign | Immediate action |
|---|---|---|
| Condensation | Wet window sills, black spots | Improve ventilation; fit extractor fans |
| Leaks | Stains, peeling paper | Repair pipe/roof; dry area fully |
| Rising damp | Damp at skirting, salt deposits | Survey damp-proof course; specialist repair |
Key point: resolve the underlying problems before any finish is applied. Otherwise the damp mould will return and costs will rise.
Essential Safety Precautions for Mould Remediation
Start any remediation by protecting yourself and isolating the affected zone in the property. Treat the space as a contamination area until it is cleaned and dry.

Safety first: simple steps limit health risks and reduce the chance of spores spreading to other rooms.
Protective Equipment Requirements
Always wear suitable PPE when you remove mould. Professional advice is consistent: use a respirator-rated mask, sealed goggles and chemical-resistant gloves.
- Mask: a P2 or higher respirator prevents inhalation of airborne particles.
- Eye protection: goggles stop splashes during cleaning.
- Gloves: nitrile or rubber gloves protect your skin from cleaners and spores.
- Ventilation: open windows and use fans to move air away from affected areas during work.
“Safety is the priority when dealing with biological contaminants; adequate PPE and isolation save time and costs later.”
Keep children, pets and non-essential persons away from the work area. If the infestation is large, seek professional advice to remove mould safely and protect your property.
The Importance of Professional Surface Preparation
Professional surface preparation sets the foundation for any lasting restoration when fungal growth has affected a room. Contractors inspect and clean the substrate so a new finish bonds correctly.
Start by confirming the source of damp, then remove contaminants and any weak material. A qualified team will use fungicidal treatments, followed by gentle abrasion to ensure a sound surface.
Skipping prep is a common mistake that causes poor adhesion, blistering and early failure of your paint. That adds cost when you need a repeat job.
A careful inspection often finds hidden areas affected by mould that a quick job would miss. Addressing these spots before you apply coatings reduces recurrence and protects the rest of the property.
- Confirm in writing scope of prep, products to be used and drying times.
- Check warranties that cover both workmanship and remedial action if growth returns.
- Invest in prep—it makes the final finish durable and suited to South African conditions.
Executing the Kill Dry and Coat Sequence
Follow the kill, dry and coat routine to remove spores and secure your walls. Start with careful cleaning so the next steps work. This approach is the industry standard for a reliable finish in South African homes.
Surface Cleaning Techniques
Clear loose debris and soft paper first. If wallpaper is damp or stained, strip back to the plaster; trapped material will feed the problem.
Scrub gently with a nylon brush and detergent, then rinse and blot. Avoid harsh abrasion that damages plaster.
Applying Fungicidal Washes
Use a recognised fungicidal wash to kill spores on contact. a weatherproof trade coating is suitable for masonry and wood. For stubborn areas, a fungicidal mould remover contains fungicide that targets surviving spores.
Follow product directions, work in well‑ventilated rooms and protect nearby fittings. In bathrooms and other damp areas, a specialist mould killer is essential to prevent quick return.
Drying Times Before Priming
Allow the substrate to dry thoroughly. Industry guidance recommends waiting 1–2 weeks after damp‑proofing or deep cleaning before applying primer.
If plaster or walls still feel cold or damp, use dehumidifiers and fans. Only seal a fully dry surface with a quality primer to stop stains affecting final colour.
| Step | Product/Action | Typical time |
|---|---|---|
| Clean | Detergent, nylon brush; remove wallpaper if needed | 1–2 hours (plus drying) |
| Kill | a weatherproof trade coating or a fungicidal mould remover | As per label; 15–30 minutes contact, then rinse |
| Dry | Natural ventilation, fans, dehumidifier | 1–14 days depending on damp level |
| Coat | High‑quality primer then finish coat | After full dryness; primer drying per product |
Selecting the Right Anti-Mould Products
Selecting the correct treatment and finish will keep damp stains from returning for years.
Choose an anti‑mould paint rated for the room and the surface. High‑quality products include biocides that help prevent mould and protect your property.
Start with a recognised mould killer as a base treatment. A proper kill step lets the subsequent coat form a durable barrier against water and spores.
- Spray formats: convenient for hard‑to‑reach areas and small cracks; they save time on labour and access costs.
- Surface match: confirm the product is suitable for plaster, cement or timber before you apply the finish.
- Manufacturer instructions: follow contact times, dilution and drying guidance to keep warranties valid.
| Product type | Best use | Typical benefit |
|---|---|---|
| Mould killer (liquid) | Pre-treatment of stained walls | Kills spores; improves adhesion |
| Anti‑mould paint | Final coat in damp rooms | Biocide protection for several years |
| Spray treatment | Junctions, skirting and vents | Fast coverage; reaches tight areas |
Tip: for South African coastal properties, select products that resist high humidity and confirm drying times before you re‑occupy the room.
Managing High Humidity and Ventilation Realities
High humidity is a common challenge in South African coastal homes. High sea air raises indoor humidity, so managing movement of air is often the most effective defence.
Condensation on windows and cold walls feeds mould. If a room shows constant droplets or stains, the issue is likely excess moisture, not the finish.
Ventilation is the practical control. Proper air flow removes moist air and cuts the time spores can stay active. Install extractor fans in wet areas and use trickle vents where possible.
The coastal effect and simple fixes
Coastal climates keep air humid for longer. That raises the risk of water damage if you ignore it.
- High humidity often leads to persistent condensation on walls and windows.
- Maintaining a consistent airflow is critical to keep your property dry.
- Installing a PIV loft unit can force out damp air and reduce the chance of mould in a room.
“Address ventilation first; doing so saves repair time and prevents repeat issues.”
Addressing Mould in Bathrooms and Wet Areas
Bathrooms are high‑risk areas where constant condensation and splash water create ideal conditions for mould on walls and ceilings.
Use moisture‑resistant paint and proper products for wet rooms to reduce the chance of the problem returning after treatment. A specialist finish helps resist humidity and staining.
Inspect all plaster and wallpaper before you start. If damp or soft areas exist, strip back and dry the surface fully. Do not seal over a substrate that still holds water.
Ventilation is essential: fit an extractor fan sized for the room and run it during and after showers. Good airflow removes moist air and cuts recurrence risk in the property.
Keep a simple cleaning routine to protect the finish and prevent stains. Regular checks and timely local repairs cost far less than repeated full‑room remediation.
“Address humidity and substrate first; the finish lasts only when the room is truly dry.”
When should you call a professional for mould?
Recurring black spots or a cold, damp wall usually mean you need expert advice and a formal survey.
If you are unsure about the extent of the mould problem, contact qualified services. A contractor can inspect hidden cavities, plumbing and structural areas that DIY checks miss.
Our guide recommends you engage services when the damp issue is deep‑seated or when repairs affect structural elements of your property.
- Accurate diagnosis: a contractor locates the root cause and proposes a long‑term solution rather than a quick cover-up.
- Complex jobs: do not attempt major remediation without proper equipment; it often wastes time and causes repeated problems.
- Reliable information: a professional assessment gives the written scope, costed options and realistic timeframes to decide what job to approve.
Key point: for large or recurrent issues, professional assessment protects your health, budget and property value.
Comparing Quotes for Effective Mould Repair
An accurate quote separates cosmetic work from the repairs needed to stop the problem returning.
When you request quotes, check that the scope includes proper surface preparation and high‑quality paint suitable for the room.
Our platform lets you request up to 3 quotes from independent contractors so you can compare value and timelines.
- Scope: remove contaminated material, apply fungicidal wash and prime before any colour is applied.
- Products and time: a good quote lists the products, contact times and the expected time for the job.
- Advice and lifespan: ask contractors how many years the repair should last and what maintenance they recommend.
- Services comparison: multiple quotes help you avoid overpaying and reveal differences in warranty and workmanship.
“A detailed proposal gives you confidence to approve the right remedial work for your property.”
Key action: confirm all items in writing — prep, products, time and guarantee — before you accept any quote.
Long-Term Maintenance for Mould-Free Walls
Inspect walls and windows every few months so you spot damp early and keep repair costs down.
Control condensation by improving ventilation. Letting air move through a room reduces moisture and helps prevent mould growth over years.
Clean minor dark spots promptly with a mild bleach solution and a soft cloth. This keeps plaster and paint in good condition and buys you time before any larger work is needed.
Repair leaks and water ingress immediately. Even small drips encourage damp and create the breeding ground for a long-term problem in ceilings and skirtings.
Set a simple maintenance cycle: check vents, clear gutters, run extractors during showers and refresh finishes at scheduled intervals to protect your property.
“Regular inspections and swift repairs are the most cost-effective way to keep walls dry and healthy.”
| Action | When | Benefit |
|---|---|---|
| Inspect walls & windows | Every 3 months | Catch damp early; reduce repair cost |
| Improve ventilation | Install or service fans as needed | Cut condensation; limit mould growth |
| Clean minor spots with bleach | As soon as noticed | Protect plaster and finish; quick fix |
| Repair leaks | Immediately | Stop moisture causing long-term damage |
Common Mistakes During the Painting Process
A rushed finish often hides errors that cause immediate failure on damp walls.
One frequent error is skipping a recognised mould killer or mould remover before you put on a new coat of paint.
Many people try to paint damp mould on the surface without cleaning it. That leads to quick failure and visible stains within a short time.
Using a standard emulsion or the wrong primer in bathrooms and wet rooms is another common mistake. Those products do not resist water and the issue returns.
Bleach can help remove marks on plain white walls, but it strips colour and is not a reliable kill step. Rely on a labelled fungicidal wash instead.
Do not skip the cleaning and drying steps. Paint will not adhere to damp plaster or wallpaper backing, and that creates blistering and peeling.
“Seek professional advice if you are unsure — fixing repeat problems costs far more than doing the job right first time.”
- Confirm the use of a mould killer and a suitable primer for the room.
- Clean and dry the surface fully before any coat is applied.
- Get written advice on scope and drying time from contractors when in doubt.
Final Steps for Securing Your Property Against Future Growth
Secure repairs with a moisture‑resistant top coat and set a simple maintenance plan. A high‑quality paint finish on cleaned, dry walls locks in work and helps prevent mould returning.
Schedule regular inspections over the coming years so you spot any new condensation or water marks early. Routine checks save time and reduce repair costs.
Use an anti‑mould spray in high‑risk areas and keep ventilation working during and after showers. These small steps protect the whole property.
Visit paintingpricepersquaremeter.co.za to compare reliable contractors who can help you maintain your property to a high standard. Taking these final steps ensures your investment in painting and repairs provides lasting protection for the property.
FAQ
What happens if you paint over mould without treating it first?
Painting over visible fungal growth only hides the stains. Spores remain active beneath the paint and will cause discolouration, bubbling and eventual peeling. The root cause – such as condensation, rising damp or a leak – must be fixed first; otherwise the problem returns within months to years.
Can paint kill spores or stop regrowth?
Ordinary paint does not kill spores. Only a certified fungicidal wash or biocide will reduce surface organisms. After treatment and full drying you must use a suitable primer and a topcoat with anti-fungal additives for best results.
How do I identify whether the issue is condensation, leaks or rising damp?
Check the location and pattern of staining. Condensation stains are usually near windows, cold walls and ceilings; leaks show localised wet patches and may smell musty; rising damp leaves tide marks at skirting level and salts in plaster. A contractor or damp specialist can confirm with moisture readings.
What safety gear do I need to remove mould myself?
Use an N95/P2 respirator, nitrile gloves, goggles and disposable overalls. Seal off the area with plastic sheeting and ventilate where possible. For widespread contamination or health concerns, engage a professional remediation team.
What surface preparation steps are essential before repainting?
Remove loose paint and soft plaster, treat the area with an approved fungicidal wash, rinse if directed, and allow complete drying. Replace damaged plaster or plasterboard if required, then apply a compatible sealer/primer before the finish coat.
How long should I wait after treating and cleaning before priming?
Drying time depends on substrate and humidity. Allow at least 24–72 hours in well-ventilated conditions; in high-humidity coastal areas it can take longer. Use a moisture meter where possible and never seal in dampness.
Which anti-mould products work best on internal walls?
Look for registered fungicidal washes and primers from reputable paint brands with clear instructions for use. Choose breathable primers for plaster and pigmented topcoats with mould inhibitors for bathrooms and kitchens.
How should I manage high humidity in coastal homes to prevent regrowth?
Increase ventilation with extractor fans, use dehumidifiers, and improve insulation to reduce thermal bridging. Regularly wipe window sills and keep air moving in cupboards and laundries. Address external issues like blocked gutters that increase dampness.
Are there special considerations for bathrooms and wet areas?
Yes. Use water-resistant plaster, cementitious repair products and tile grout with anti-fungal additives. Install and run an extraction fan on a timer, and use semi-gloss or specialist bathroom coatings designed for frequent moisture exposure.
When should I call a professional contractor for assessment?
Call a contractor if contamination covers a large area, if you suspect structural damp, if the problem returns after treatment, or if anyone in the household has respiratory problems. A professional will diagnose cause, supply a scope of work and provide a written quote.
What should I check when comparing quotes for mould repair?
Confirm scope: cause diagnosis, substrate repair, products to be used (brand and type), prep work, number of coats, drying times, access requirements and warranty terms. Compare labour rates, material costs and any follow-up visits for monitoring.
Can wallpaper or vinyl wallcoverings hide or worsen the problem?
Wallpaper can trap moisture and hide fungal growth behind it, which makes detection harder and treatment more extensive. Remove affected wallcoverings to inspect and treat the substrate before reapplying any finish.
How much can remediation and repainting cost in South Africa?
Costs vary with cause, area size and access. Small DIY treatments (products and sealant) might cost a few hundred rand; professional remediation with plaster repair and repainting can run into thousands per room. Always request up to three quotes to compare pricing and scope.
What common mistakes should I avoid during the repair and recoat process?
Don’t paint over damp or untreated surfaces, avoid using non-breathable sealants on plaster, and don’t skip proper cleaning or priming. Using incorrect product types or rushing drying times leads to repeat problems and extra costs.
How do I keep walls mould-free long term?
Fix the source of moisture, improve ventilation, maintain extractor fans, use anti-fungal finishes in high-risk rooms and check gutters and roof flashings annually. Regularly inspect cold walls and window reveals for early signs and act quickly.
Related painting cost guides
Ready to compare?