
Painting Over Cracks in Walls: What Works and What Returns
Hairline crazing, settlement cracks, and movement joints – which can be filled and painted, and which come back
Quick answer
Painting over cracks in walls – which hairline and settlement cracks can be filled and painted, which always return, and when a crack needs more.
8 min read
On this page
Painting over cracks in walls in South Africa is a common concern, and our platform provides the pricing guidance you need to manage your budget effectively at paintingpricepersquaremeter.co.za.
Have you ever wondered if a quick coat will hide that line, or if the fault will return? This question matters when you want a lasting paint job and need to know the true cost.
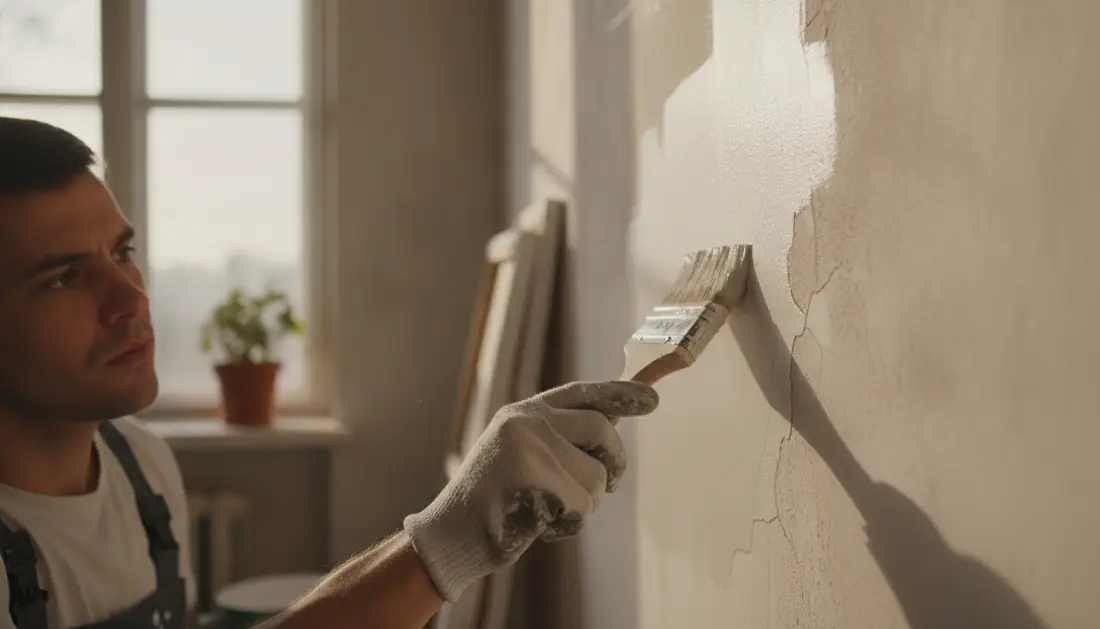
Many homeowners ask why these defects appear and whether a single coat will mask texture or holes. A nail pop is one specific issue where the nail shows through the wall and needs more than a quick touch-up.
We help you weigh material quality, prep work and labour so you can request up to 3 quotes and compare realistic costs. Expect practical guidance to make the job, time and quality trade-offs clear.
What causes cracks in walls?
Before you decide to add a fresh coat, identify whether the line on your wall is cosmetic or structural; our paint-problem guides help you tell them apart. A quick assessment saves time and avoids unnecessary cost for your South African home.
Environmental Factors
Local ground movement such as clay heave and coastal settlement often affects properties. Lightweight bricks can expand and contract, stressing the plaster layer.
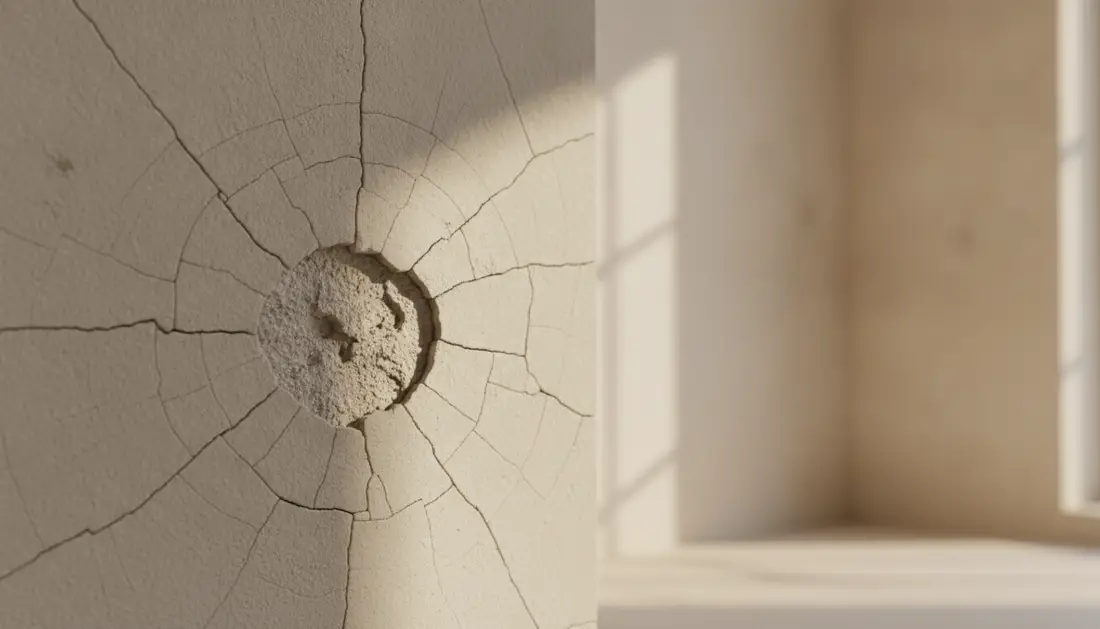
Hairline cracks are usually no wider than 0.5 mm; hairline cracks vs structural cracks explains the difference. They may worsen if moisture reaches the plaster and the paint begins to bubble.
Structural Integrity Flags
Look for signs that suggest movement, not just surface finish failure.
- Widening or angled lines: suggest movement of the structure.
- Repeated splits near openings: doors or windows point to load issues.
- Moisture-stained patches: indicate water entering holes and layers beneath the surface.
| Type | Typical width | Recommended action |
|---|---|---|
| Hairline | ≤ 0.5 mm | Check for moisture; monitor; minor filler if stable |
| Structural | > 0.5 mm or widening | Engineer report; repair plaster; professional remedial work |
| Moisture-related | Variable | Fix leak; dry area; replace affected layer |
Next step: Confirm whether the defect is only in the paint layer or deeper in the wall — and whether salts such as efflorescence (white salt deposits) are present — before requesting quotes.
Essential Preparation for Painting Over Cracks in Walls
Start with the right tools and a clear plan — that saves time and future expense. Good prep ensures the final paint job lasts and reduces repeat repairs.
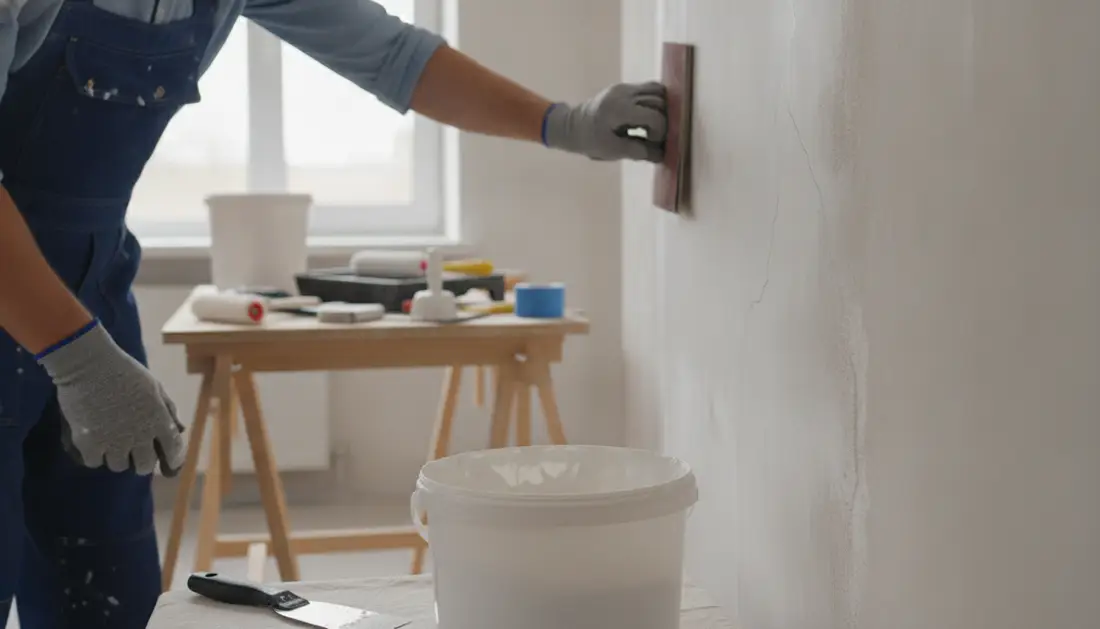
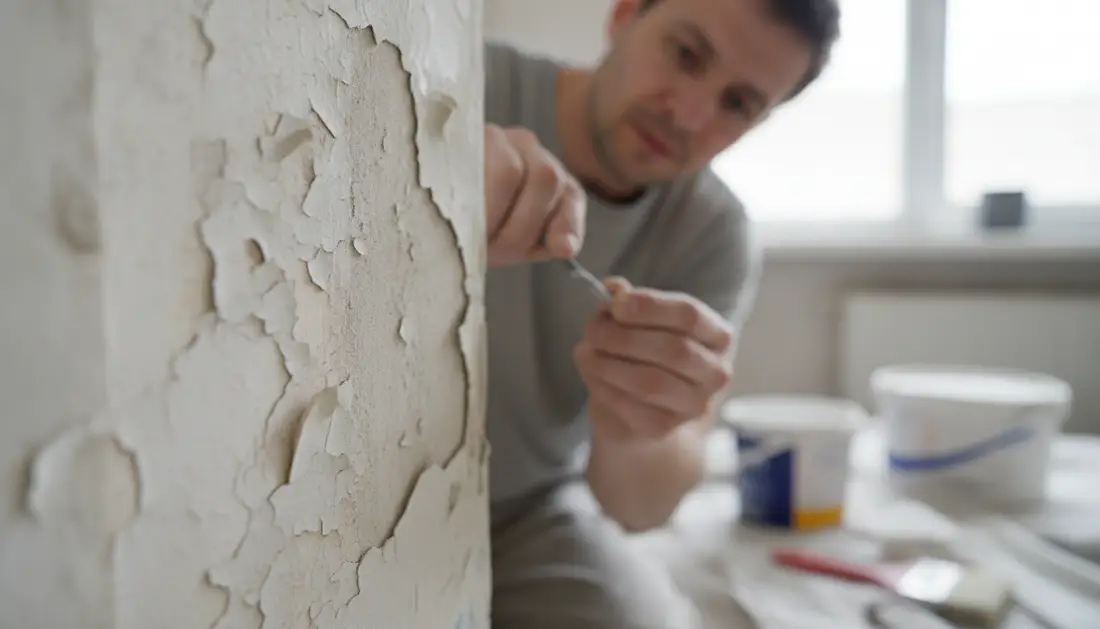
Use a screwdriver or utility knife to scrape along each crack and form a narrow V-shape. This helps putty adhere and removes loose old paint.
- Fill: use a putty knife to force compound or putty into the gap so the surface sits level with the surrounding plaster.
- Sand: once dry, sand paper-thin edges so the texture blends and the final colour looks uniform.
- Clean: wipe the area with a damp sponge and use a clean brush to remove dust before priming.
Take your time during drying. A bit of patience here avoids reopening the repair and saves on labour costs later, and crack repair pricing covers professional remedial work.
| Step | Tool | Quick tip |
|---|---|---|
| Rake out | Utility knife | Create a V-shape, remove loose old paint |
| Fill & sand | Putty knife & sandpaper | Level surface; sand thin edges for a smooth finish |
| Prime & finish | Primer & brush | Seal plaster before final coats to improve adhesion |
If you have questions about filler type or the condition of plaster, seek a local quote to confirm the best approach for your job.
How do professionals repair cracked walls?
Good results come from methodical repair. A proper process reduces repeat work and saves you time and money on South African jobs.
Raking Out and Filler Selection
Open the line into a shallow V using a utility knife. This step helps any putty or compound to bond firmly with the plaster.
A ready-to-use crack filler is a ready-to-use filler that suits holes and minor defects on interior walls and exterior surfaces. Use a putty knife to press the putty in so no air pockets remain.
Managing Surface Dust and Debris
Remove loose material and old paint with a scraper when necessary. Then vacuum or brush the area to clear dust.
Wipe with a damp sponge and allow full drying. Clean surfaces ensure compounds and primers adhere and give better final results.
Priming for Adhesion
After sanding with sandpaper until the repair is level with the surrounding wall, apply a high-quality primer.
The 1+2 coating system — one sealer and two topcoats — gives a durable finish and reduces the chance of peeling. Use a good brush for edges and follow drying times between coats.
Securing Long-Term Results for Your Property
Securing durable results means treating the root cause, not just covering the visible line. Use the right putty, primer and two good top coats so the paint bonds to the plaster and the surface stays even.
Choose contractors who follow each step: rake, fill with putty using a putty knife, sand with sandpaper, prime and then finish with coats. Elite Painting offers a 5-year workmanship warranty, a useful standard to seek when you hire.
Small maintenance helps too. Wipe dust with a sponge, keep surfaces clean and touch holes or a small crack before they spread. For quotes and local contractors, visit paintingpricepersquaremeter.co.za to request up to three options and compare guarantees, costs and timeframes.
FAQ
What causes hairline cracks to appear on interior plaster and render?
Most hairline splits come from thermal movement, moisture changes or slight settling of the building. Poor adhesion between old paint and plaster, rapid drying of new render, or inadequate curing can also create fine fissures. Check for damp, leaking pipes or roof faults first — those need fixing before any cosmetic work.
Can I simply fill small fissures and put a new coat of paint over them?
You can, but only after proper prep. Light sanding, removing loose material with a scraper, then applying a flexible filler or acrylic-based compound will give a much better finish than slapping on a top coat. Finish with a good primer to stabilise the surface and improve adhesion of the final coat.
How do I choose the right filler and putty knife for the job?
For fine cracks use a ready-mixed acrylic filler; for gaps wider than 3–5 mm use a setting compound or polyester filler. A 50–100 mm stainless-steel putty knife is versatile for most repairs. Match product choice to the substrate — plaster, gypsum or cement render — and follow the manufacturer’s drying times before sanding and priming.
What prep steps remove dust and ensure a solid base for repair compounds?
Remove loose paint and powder with a stiff brush or scraper. Vacuum or wipe the area with a damp sponge to remove fine dust. For greasy surfaces use a sugar soap solution. Let the surface dry fully before applying filler or primer to avoid trapping moisture under the repair.
Is priming necessary after filling cracks and before the top coat?
Yes. Primer seals the repaired area, evens out porosity and improves top-coat bond. Use a PVA-stabilising primer for bare plaster or a specialised adhesion primer for difficult substrates. This reduces the risk of patchiness and ensures long-lasting results.
How many coats are usually required to hide repaired sections on interior walls?
Typically two finish coats over a primed surface are enough for uniform colour and sheen. If you’re changing from a dark to a light colour or using low-opacity paint, factor in a third coat. Always allow recommended drying times between coats for the best finish.
What techniques do professionals use to prevent repaired cracks from reappearing?
Tradespeople often rake out unstable material, use fibreglass joint tape or flexible fillers across moving joints, and select elastomeric or flexible top coats on problem areas. Proper substrate repair, correct primer choice and addressing the root cause — moisture or movement — are key to durability.
Will textured or older paints affect my repair and final finish?
Yes. Old textured paint or high-build coatings can hide defects but may conceal underlying movement. Sand back heavy texture or remove loose areas, then feather the filler and sand to match the surrounding texture before priming. If the surface is glossy or alkyd-based, use a suitable primer for adhesion.
What are realistic time frames and cost factors to expect in South Africa?
Time depends on extent of repairs and drying times — small jobs may take a day, larger restorative work several days. Costs vary by region, surface condition, type of filler, primer and paint, and labour rates. Get up to three independent quotes to compare materials, prep scope, access requirements and any warranties offered.
When should I call a structural engineer or specialist rather than doing DIY repairs?
Seek professional assessment if cracks are wide (over 5 mm), step along a masonry joint, appear rapidly, or accompany doors and windows sticking. Also call a specialist if you suspect subsidence, significant moisture ingress, or roof and foundation issues. Cosmetic repairs alone won’t fix structural faults.
How do I confirm scope and guarantees with a contractor before work starts?
Ask for a written quote detailing surface prep, type of fillers and primers, number of finish coats, brand names and warranty terms. Confirm timelines, access needs and who handles site visits and final sign-off. Independent contractors should provide clear terms so you can compare like-for-like quotes.
Related painting cost guides
Ready to compare?