

Painting Over Water Stains on Ceilings and Walls
Brown rings, tide marks, and yellowing patches – confirm the leak is dead, then seal before paint
Quick answer
Painting over water stains on ceilings and walls – confirm the leak is fixed, why stains bleed through normal paint, and the sealing that stops them.
8 min read
On this page
Curious whether a quick coat will fix that mark — or make the problem worse? If you live in South Africa and spot a discoloured patch below a bathroom or after a storm, you need a clear plan before you work on the finish.
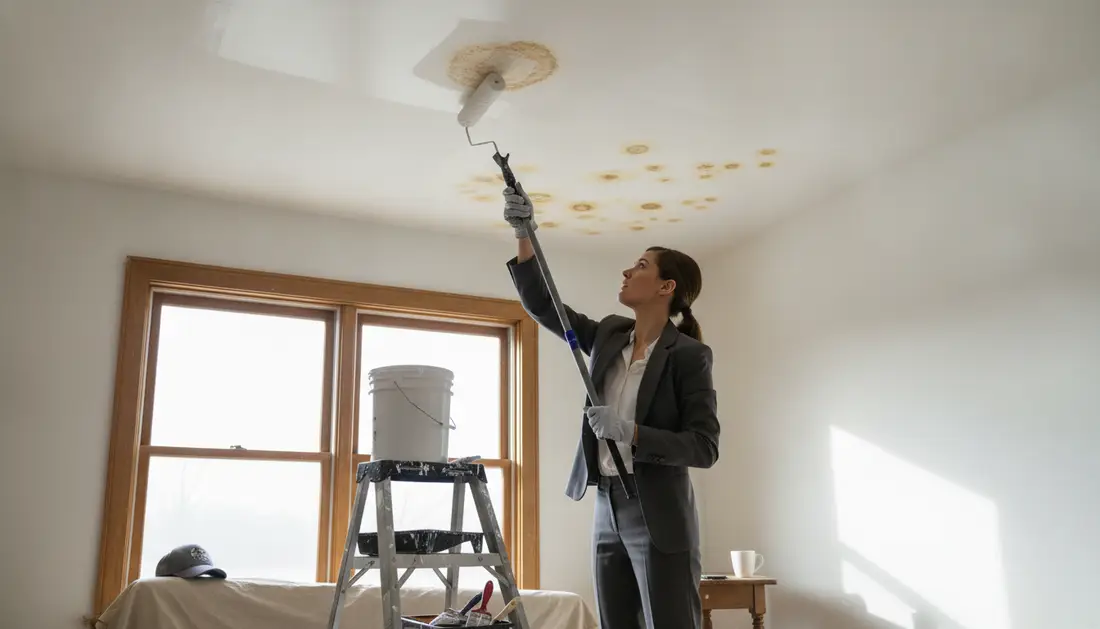
Visit paintingpricepersquaremeter.co.za to use our pricing guidance and see how surface condition, primer choice and labour shape your budget. Our platform links you to independent contractors who can give accurate site assessments.
Identifying the source of the mark is the first step. This guide explains why simply brushing on paint often fails and how the right primer will seal the area for a lasting result.
When you use our platform you can request up to 3 quotes. That helps you compare cost factors like prep work, access and expected finish so you make a confident, cost-aware decision.
What causes water stains on ceilings?
Begin with stain forensics and simple leak checks to avoid wasted work. Confirm whether a geyser, hidden plumbing or hail damage is letting moisture into the roof space; common painting problems explained covers related faults.

Run leak tests where possible. Isolate pipes, check roof flashings and examine gutters after rain; if the roof is the source, whether you need paint or waterproofing helps. If the issue is active, any cosmetic coat will fail.
Stain forensics and leak tests
- Inspect walls and ceilings for damp patches and scent of mould.
- Perform simple water tests and pressure checks on plumbing runs.
- Consider hail or roof-sheet damage above the affected area.
Environmental factors like soot and nicotine
Soot from a fireplace or nicotine from smoking can mimic water marks. These need degreasing and a specific cleaner before treating the surface.
“Identifying the source is imperative — paint will not stop an active leak.”
| Cause | Check | Immediate Remedy | Follow-up |
|---|---|---|---|
| Hidden plumbing | Pressure test, visual trace | Isolate and repair pipe | Dry surface; treat for mould |
| Roof hail / flashings | Roof inspection after storm | Replace flashing or sheet | Ensure gutters clear; re-check after rain |
| Soot / nicotine | Smell and surface wipe | Degrease and clean | Treat with mould killer if needed |
Tip: Use Polycell 3-in-1 Mould Killer to remove any mould before you apply primer or paint. Make sure the source is fixed; otherwise the mark will return, and what stain blocking and painting costs covers sealing it properly.
Essential Preparation for Painting Over Water Stains Ceiling
Start by ensuring the affected area is fully dry and free from loose material. If a leak caused the mark, make sure the source is fixed and the surface has had ample time to dry. Painting damp plaster will cause the paint to blister and ruin the final finish — see what causes damp on walls.
Clean the surface. Remove dirt, loose paint and any dust. If you find mould, treat the spot with a suitable fungicide before you proceed.
Fill and sand. Repair cracks and smooth edges so the new coat sits on a uniform surface. A neat preparation saves time and gives a longer-lasting finish.
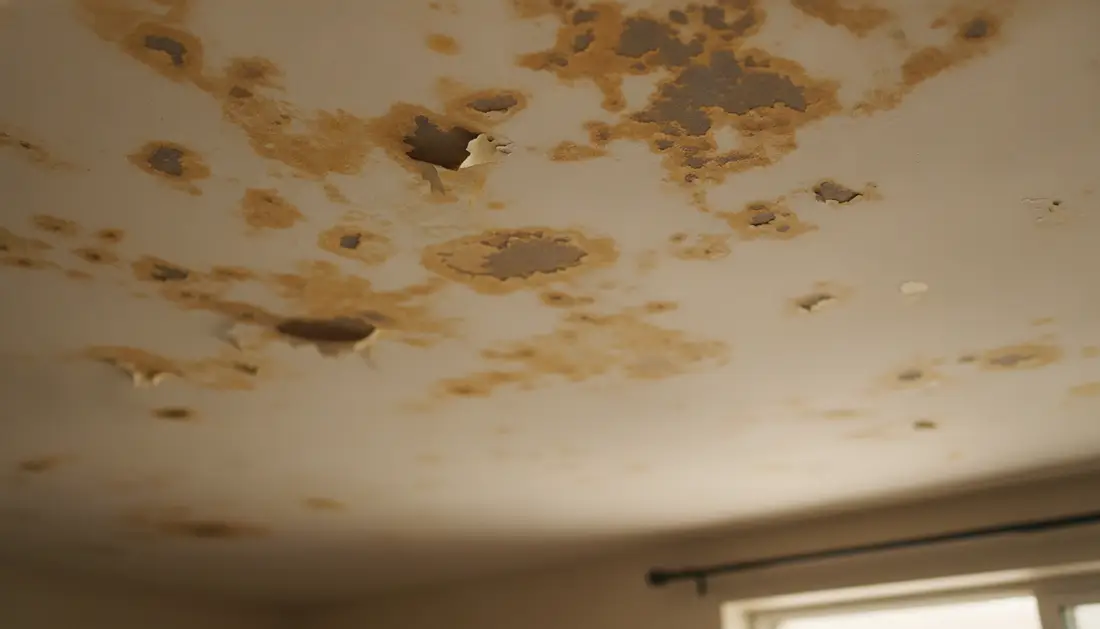
- Seal the stain: use a specialist primer. Ordinary paint will not stop pigments from bleeding through.
- Recommended: a shellac-based stain-blocking primer blocks stubborn stains while drying in under an hour.
- Final check: confirm the area is dry and mould-free before applying any top coat.
Taking time on preparation pays off — it prevents repeat damage and delivers a durable, professional finish for your home.
Which primer stops water stains bleeding through?
Opt for specialist sealers and high-performance finishes to make repairs blend with the surrounding surface. This step reduces the chance of the mark returning and keeps your room looking uniform; what paint to use on ceilings helps you match it.

Specialist stain blockers and blending techniques
Choose a proven primer first. A shellac-based stain blocker will seal porous plaster and stop pigments migrating through the topcoat.
For mould-prone spaces, a scrubbable fungicidal wash offers a scrubbable, fungicidal defence that helps kitchens and bathrooms stay clean.
Zoffany Elite Emulsion gives washable, stain-resistant performance for living spaces. For breathability in humid rooms, Earthborn Claypaint provides an ultra-matt finish that reduces condensation.
- Use blending techniques to feather edges so the patched area matches adjacent walls and the rest of the surface.
- Apply at least two coats of your chosen product and finish with a quality roller to keep texture consistent across areas.
- Allow adequate drying time between coats; this step ensures the sealer locks in the stain and the final look stays uniform.
“A correct primer choice saves time and prevents repeat repairs.”
Achieving a Professional Finish and Long-Term Protection
A professional look comes from careful priming, multiple coats and sensible maintenance. Use a quality stain-blocking primer to seal the stain and lock in pigments before you apply any top coat.
Make sure you address the source of the leak first; no product will hide an active issue. Check gutters and ventilation in kitchens and wet rooms to reduce future mould and water damage.
Request a professional quote through paintingpricepersquaremeter.co.za to compare contractors and warranties. With the right sealer, two good coats and routine checks, a repaired area can stay problem‑free for years.
FAQ
What should I do first when you spot a water stain on a ceiling?
First, identify and stop the source of the leak. Check plumbing, roof flashing, gutters and any appliance above the area. Dry the affected space thoroughly with fans or dehumidifiers and remove loose material. Do not paint until the substrate is fully dry — moisture trapped under a new coat causes re-staining and peeling.
How do I tell if the stain is still active or old and dormant?
Use a simple leak test: place a dry cardboard or paper towel on the stain for 24 hours and inspect for dampness. Also watch the area during heavy rain or run taps above the room. Active stains feel damp, may spread, and often show fresh discolouration or blistering of the finish.
Can soot or nicotine be mistaken for moisture stains?
Yes. Dark discolouration from candles, cooking, cigarettes or heaters can look like liquid damage. Smell, location (near a hob or lounge), and cleaning tests help: wipe gently with a detergent solution — if it lightens, soot or nicotine likely caused it and requires a different primer approach than a typical water stain.
What surface preparation is essential before applying any sealer or paint?
Remove loose paint and dirt, sand feathered edges, and wash the area with a non‑alkaline cleaner. Repair any plaster or gypsum damage with a suitable filler. Ensure the surface is fully dry and dust‑free before applying a stain‑blocking primer. Good prep reduces coats and improves longevity.
Which primer types stop stains most effectively?
Use a high‑quality oil‑based or shellac‑based stain blocker for persistent tannin or rust marks. For most household marks, a dedicated water‑based stain sealer with strong adhesion is sufficient. Match the primer choice to the stain type: shellac for deep tannins and smoke; acrylic block for light discolouration.
How do you blend the repaired area so the finish matches the rest of the ceiling?
After priming, apply two thin finish coats, feathering out beyond the repair to blend texture. Use the same sheen and product as the surrounding area. For textured ceilings, replicate the texture before priming. Test a small patch to confirm colour and sheen match under the room’s lighting.
How long should I wait between applying primer and top coats?
Follow the product label — typically allow 2–4 hours for fast‑drying acrylic primers and up to 24 hours for shellac or oil‑based primers. Ensure the primer is fully cured, not just dry to the touch, before topcoating to avoid adhesion problems and reappearances of the stain.
What if the mark reappears after repainting?
A recurring mark usually means the source wasn’t fixed or the wrong sealer was used. Inspect for hidden leaks, condensation issues or mould. Strip back to sound substrate, treat any mould with an appropriate biocide, allow complete drying and use a stronger stain‑blocking system such as shellac primer before re‑finishing.
Do I need a specialist for large or structural water damage?
Yes. For extensive discolouration, sagging plaster, repeated leaks or roof/pipe work, involve a roofer, plumber or structural contractor first. They’ll confirm the repair scope and costs. Once the root cause is fixed, an experienced painter or plasterer can restore the finish.
What are the cost factors to expect when fixing and covering stains in South Africa?
Costs vary by size, access, substrate and materials. Expect labour and prep to affect price most. Repairs needing scaffolding, specialist primers (shellac), or replacement plaster add expense. Request up to 3 quotes from independent contractors to compare rates, timelines and warranties before proceeding.
Can I use regular ceiling paint as a stain blocker?
Regular finish coats rarely stop severe discolouration. They may mask faint marks temporarily but don’t seal tannins or smoke. Use a dedicated stain‑blocking primer under your chosen finish to ensure long‑term results and fewer repeat jobs.
How should I handle mould found with a stain?
Don protective gloves and a mask. Clean the area with a mould remover or diluted bleach solution, rinse and allow full drying. For widespread mould, engage a remediation specialist. After treatment and drying, use a suitable primer with fungicidal properties before finishing coats.
How many coats of topcoat are usually needed for an even result?
Typically two thin coats of topcoat produce a uniform finish after priming. One coat may suffice for small touch‑ups, but two ensures even colour and sheen. For previously repaired or patched areas, two coats help hide texture differences and improve durability.
What should I confirm in writing with any contractor I hire?
Confirm scope of work, materials and brands (primer type and finish), number of coats, access needs, timelines, total cost and any warranty. Ensure responsibility for identifying and fixing leaks is clear — contractors should not cover ongoing leak costs unless specified.
Related painting cost guides
Ready to compare?