

Painting Over Dark Colours: How to Get Clean Coverage
Greys, reds, and feature walls – the primer choices and coat counts that stop shadowing
Quick answer
Painting over dark colours – the primers and coat counts that stop grey shadows bleeding through, and when a tinted undercoat saves a whole coat.
9 min read
On this page
Painting over dark colours in South Africa offers excellent value when you follow professional preparation methods found on paintingpricepersquaremeter.co.za.
Do you know why covering a deep shade can take more effort than you expect?

Changing your home look starts with the right prep. Dark paint holds more pigment, so light shades can show through if you skip a proper process.
We connect you with independent contractors who give accurate quotes, so you can request up to three options and compare price per square metre.
Key steps include surface preparation, a quality primer, and using a good roller. Often you will need two coats for full coverage and a smooth finish.
Follow our guide and you can transform any room from moody to light. Ready to learn the practical tips that save time and deliver reliable results?
Essential Preparation for Painting Over Dark Colours
Start with a methodical clean and repair routine to make full coverage realistic and cost-effective. Proper preparation reduces coats, labour and the risk of a poor finish — all reflected in interior painting rates per m².
Surface Cleaning and Degreasing
Before you apply any product, clean the surface with sugar soap to remove grease, dirt and grime; helpful painting guides cover prep. Allow the wall to dry completely; trapped moisture will harm adhesion and coverage.

“Thorough cleaning is the small step that prevents large problems later.”
Repairing Wall Imperfections
Fill holes and cracks with a suitable filler, then sand the area smooth once it dries. Scuff-sand the rest of the wall to give the new primer a sound base for adhesion.
- Use painter’s tape on baseboards to protect your home and create tidy edges.
- Address bumps and cracks early to avoid them showing through the final coat.
- Apply a high-quality primer as the next step to stop the original colour bleeding through.
Good preparation is the cost-aware step that ensures lasting results in South African homes.
Selecting the Right Primers and Paints
Choose a suitable primer and paint to stop heavy pigments showing through your new colour, and check how many coats of paint you need. A good primer prevents stains and makes one-coat coverage realistic on tricky surfaces.
Selecting the right primer is essential when you paint dark walls. Use a stain-blocking primer to stop the old colour from bleeding through and ruining your light topcoat.

Premium products contain better binders and more pigment, which reduces the time you spend on extra coats. Consider a combo stain-blocking eggshell enamel that delivers finish and stain resistance in one tin.
- Choose a matt finish to help hide small surface flaws on the wall.
- If you have deep holes or repairs, prime those areas fully before you apply the final paint.
- Check manufacturer drying times so the primer is ready for the next coat.
“Investing in quality products is the best way to achieve professional results without extra labour.”
Budget paint may look cheaper, but extra coats and repeat touch-ups raise overall cost. Treat primer choice as an investment in long-term coverage and finish.
Mastering Application Techniques for Flawless Coverage
How you apply paint affects coverage as much as the products you buy. Use a clear, step‑by‑step routine to save time and avoid extra coats.
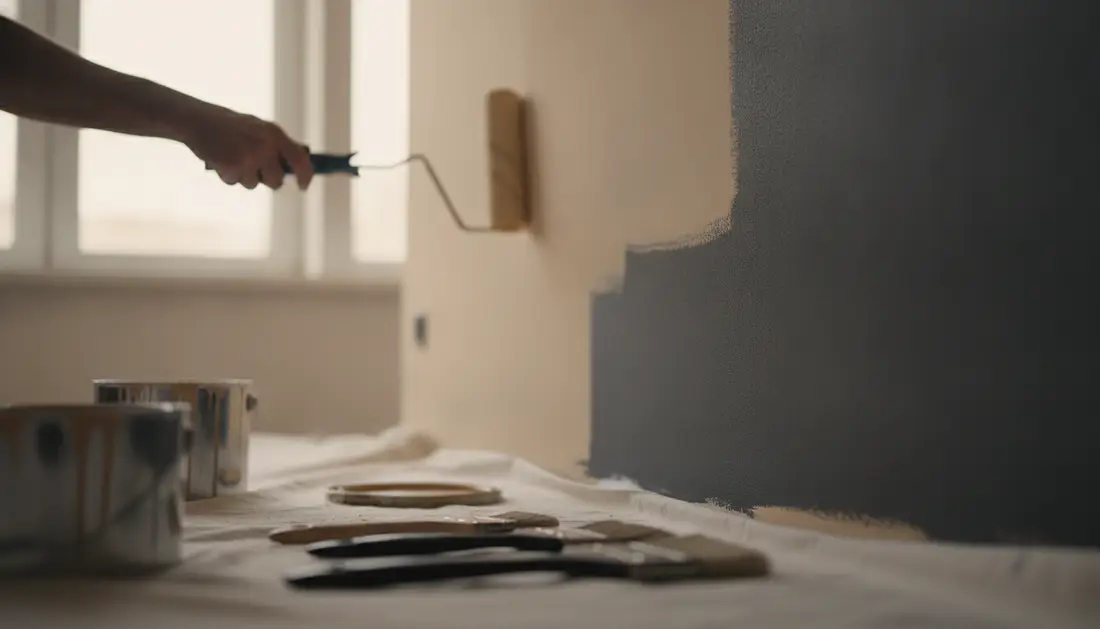
Choosing the Correct Roller Nap
Use a 10–12mm nap roller for most standard walls. This nap length gives even distribution and reduces stipple, helping your coat look smooth in natural light.
Choose a shed‑resistant roller cover to keep fuzz off the surface and get a cleaner finish.
Precision Cutting In
Cutting in sets the standard for the whole job. Use a 50mm or 63mm angled brush for edges and tight areas.
- Load the roller from the paint tray until it is evenly saturated — this step prevents thin patches.
- Work systematically: cut in with the brush, then roll the adjacent wall area while the edge is wet.
- Don’t aim for perfection on the first coat; two coats are a normal part of building coverage.
Managing Drying Times Between Coats
Allow the primer and first coat to dry fully. Rushing the next coat risks streaks and poor adhesion.
If you find imperfections after the first coat, lightly sand with fine‑grit paper, remove dust, then apply the second coat for the best results.
“Thin, even coats and steady technique deliver a durable, professional finish.”
Advanced Strategies for Dark Colour Cover-up
A tinted undercoat changes the maths: fewer topcoats and less labour.
Tinted primers are a cost‑aware step when you need real coverage on deep base tones in South Africa.
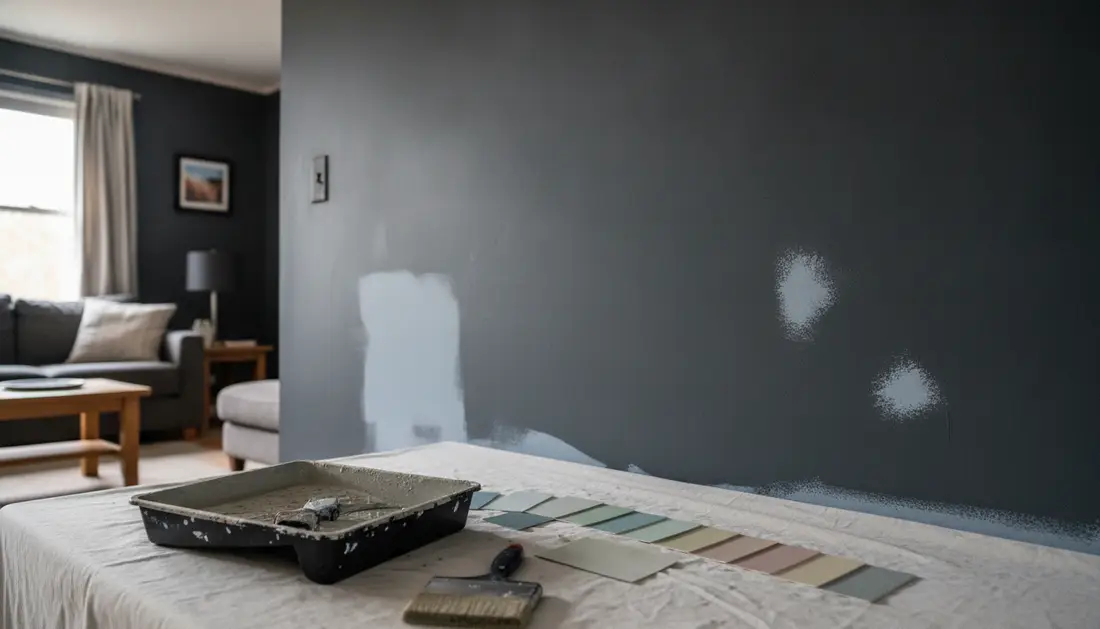
Dark paint holds heavy pigment, so a neutral or matched undercoat improves adhesion and reduces visible bleed through. Use a high‑hide tinted primer to get closer to your final colour before you apply the topcoat.
- Fewer coats save time and product cost on larger rooms in your home.
- A tinted base gives the roller and brush a consistent surface to work on.
- Assess wall areas in natural light to decide if a second primer coat is needed.
“A coloured undercoat often turns two coats into one — if surface preparation is correct.”
| Product Type | Best Use | Typical Benefit |
|---|---|---|
| High‑hide tinted primer | Covering dark walls and heavy pigments | Reduces number of topcoats; more uniform finish |
| Stain‑blocking primer | Walls with stains or tannin bleed | Prevents discolouration and improves adhesion |
| Universal primer sealer | New plaster or repaired surface | Creates even absorption and better coverage |
Final step: keep preparation thorough and apply even coats with the correct roller. That way your final colour will look bright and consistent, without patchiness from the old base.
Achieving Professional Results with Our Pricing Guidance
Get accurate cost clarity so you can plan a flawless colour change without surprises.
Use paintingpricepersquaremeter.co.za to request up to three quotes and compare independent contractors. Each quote reflects scope, surface condition, paint type, prep, access, labour and regional variation.
Compare quotes to check materials, number of coats and expected coverage, and confirm timelines and warranties in writing.
Our tips help you manage the process and secure a reliable finish for your home. Request quotes today to see realistic costs for your room and finalise a budget with confidence.
FAQ
What are the key steps to get clean coverage when painting over dark colours?
Start with a thorough clean and degrease of the wall, fill and sand any holes or cracks, then apply a suitable primer or undercoat designed for cover-up. Use a high-opacity topcoat and allow recommended drying time between coats. For best results, use a quality roller and brush and check coverage in consistent daylight.
How should I clean and degrease walls before starting?
Remove dust and loose paint with a brush or vacuum, then wipe walls with a sugar soap solution or a mild detergent and warm water. Rinse with clean water and let the surface dry fully. This improves adhesion and prevents peeling, especially in kitchens and bathrooms where residues are common.
What repairs are necessary before applying new paint?
Fill holes and cracks with an appropriate filler, sand smooth once dry, and prime repairs to avoid visible patches. Remove any flaking paint and stabilise powdery or chalky surfaces with a stabiliser primer. Good preparation reduces the number of topcoats needed.
Which primer or undercoat should I choose for covering a deep or intense hue?
Use a high-hide primer or a tinted undercoat matched towards your new topcoat. Acrylic bonding primers work well on sound plaster and previously painted surfaces. For very saturated or red tones, consider an alkyd-based or stain-blocking primer to reduce bleed-through.
Is a tinted undercoat worth the extra cost?
Yes. A tinted undercoat reduces the number of finish coats and saves time, labour and paint. It’s particularly cost-effective on larger rooms and when switching from a strong shade to a much lighter one.
How do I choose the right roller nap for walls?
For smooth plaster use a short nap (6–10 mm). For slightly textured walls select a medium nap (10–14 mm). Longer naps (14–18 mm) suit rougher surfaces. The correct nap improves uniformity and reduces the need for extra coats.
What’s the best technique for cutting in edges and corners?
Use a good-quality angled brush and steady, short strokes. Cut in a 2–3 cm border before rolling. Maintain a wet edge to avoid lap marks and blend with the roller strokes while the paint is still wet for a seamless finish.
How long should I wait between coats for proper coverage?
Follow the manufacturer’s recommended drying time on the tin. Typically, allow 2–4 hours for acrylic latex finishes in mild conditions and longer in high humidity or low temperatures. Ensure the first coat is fully dry and touch-dry before applying the next.
How many topcoats will I usually need when covering a deep shade with a lighter finish?
With correct priming and a good-quality topcoat you’ll often need two finish coats. If you skip primer or use low-opacity paint, you may need three or more. A tinted undercoat commonly reduces the finish coats to two.
What factors affect the cost when getting quotes to repaint rooms?
Costs depend on the area size (m²), surface condition, number of coats required, type of paint, access difficulty (scaffolding or ladders), and labour rates. Extra prep work like plaster repairs or mould treatment increases the quote. Always confirm what’s included in writing.
Can I use cheaper paint to save money and still achieve good coverage?
Cheaper paint may need more coats, increasing labour and time. Investing in mid- to high-quality products often reduces total cost per finished room because they offer better opacity and durability. Compare cost per m², not just the tin price.
How should I compare quotes from contractors for this work?
Ask for itemised quotes showing surface preparation, primer type, paint brand and sheen, number of coats, labour hours, access costs and warranty. Request up to three quotes, or up to five options where available, and confirm start dates and clean-up terms in writing.
Are there specific paint brands recommended in South Africa for covering strong hues?
Local trade options like reputable paint brands offer high-hide primers and quality topcoats suited to South African conditions. Check product datasheets for opacity, recommended coats and drying times to ensure a cost-effective result.
What should I watch for during the job to ensure a professional finish?
Look for consistent sheen and colour across walls, neat cut-ins, no roller marks, and proper edge definition at skirtings and ceilings. Ensure contractors protect floors and furniture and remove dust and debris after sanding before the first coat.
Can I paint directly over wallpaper or a previously gloss finish?
Remove loose or badly patterned wallpaper. Smooth, firmly adhered papers may be primed with a sealer before topcoating. Gloss finishes should be abraded to key the surface and then primed with a bonding primer to improve adhesion.
How do humidity and temperature affect coverage and drying?
High humidity slows drying and can lead to poor film formation; low temperatures also extend drying times. Work in moderate conditions when possible and allow extra drying time between coats in winter or during rainy seasons.
Related painting cost guides
Ready to compare?