
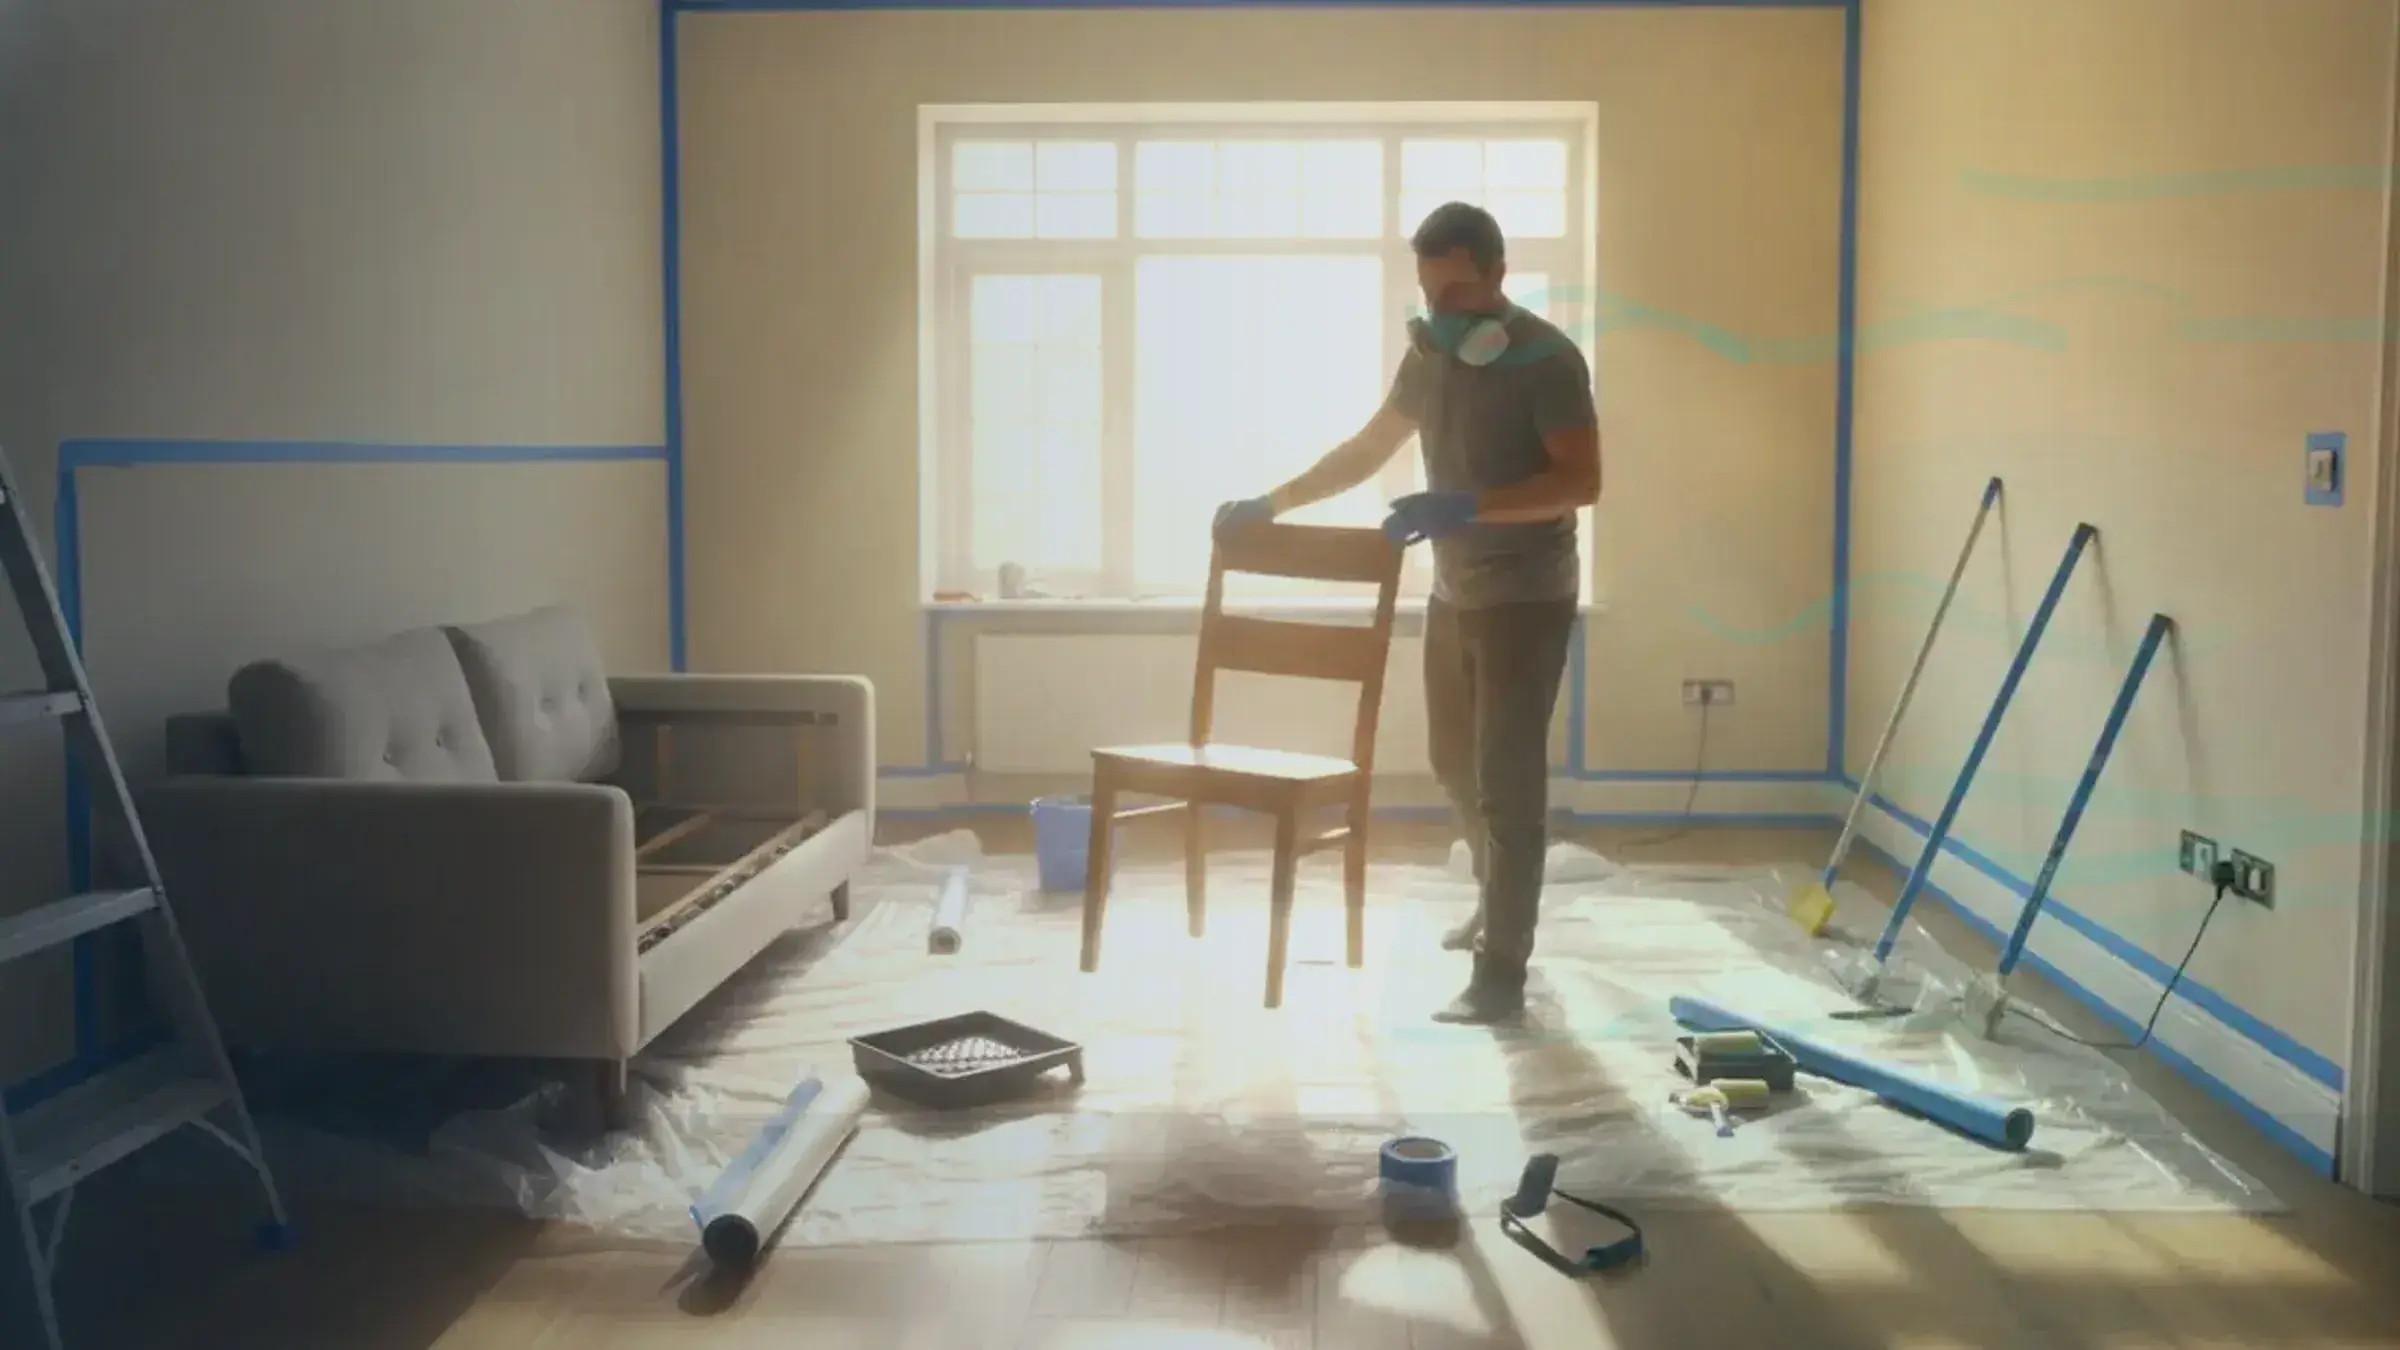
How to Prepare a Room Before the Painters Arrive
What owners should move, what painters mask, and the prep that keeps labour hours down
Quick answer
How to prepare a room before painters arrive – what to move, what gets masked, pets, valuables and alarms, and the prep that saves labour hours.
15 min read
On this page
Are you sure a quick tidy will save money, or will unseen prep costs derail your quote?
Learning how to prepare a room for painting in South Africa is the first step to getting the best value when using our platform, paintingpricepersquaremeter.co.za.
Painting a standard room typically takes two to three days, depending on size and the prep required. Knowing this timeframe helps you plan access, labour and materials.
Our quote request process connects you with independent contractors who offer professional painting room services. Use the platform to compare quotes and check what each painter includes for paint, surface prep and warranty.
Well-planned room painting saves time and improves the final finish of your walls. This short checklist will help you confirm costs, confirm what the contractor will paint and ensure your project runs smoothly.
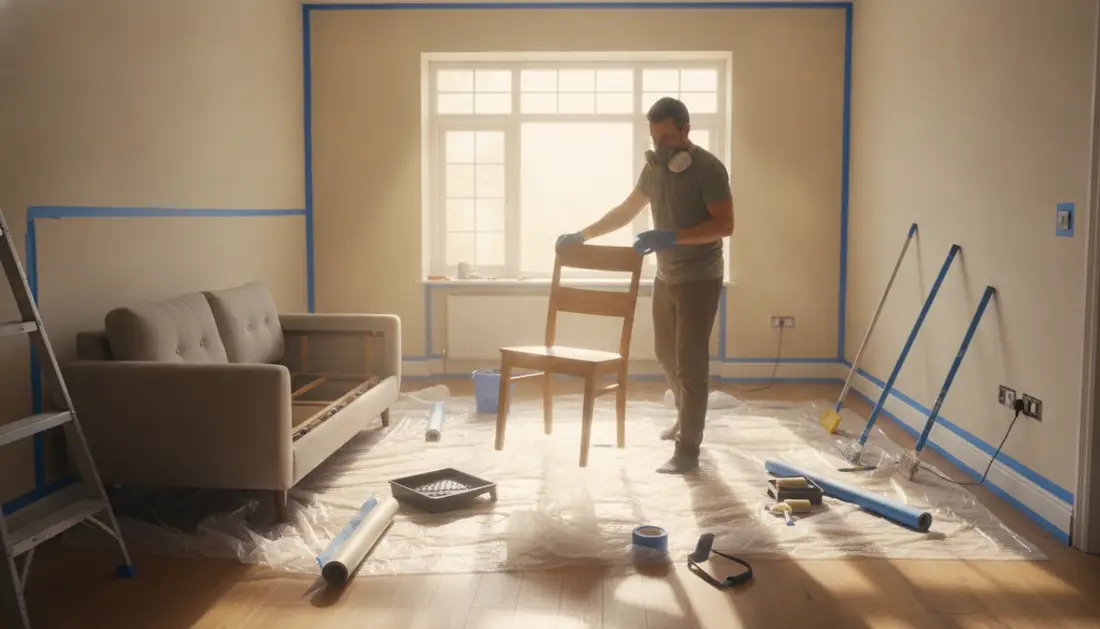
Strategic Planning for Your Painting Project
A clear plan for colour, surface prep and timing cuts waste and keeps quotes honest. Start with practical choices that shape cost and finish, including how long it takes to paint a room. Visit your local paint store early to test sample swatches against lighting in your home.

Colour Selection and Finishes
Pick the colour and finish that suit your space and furniture. A drastic colour change may need extra paint and more coats to get the look you want.
Budgeting and Timelines
Use coverage as a rule: expect to cover about 8–10 m² per litre of paint. Factor in surface condition, trim and baseboards when estimating quantities.
When you use our platform, independent contractors can advise on the best way to apply primer and estimate labour hours against interior painting cost per square metre. That guidance helps you compare quotes and plan realistic _time_frames.
- Consider surface repairs as part of the price.
- Allow drying time; rushing can add cost.
- Get written scope and warranty from the contractor.
How to Prepare a Room for Painting Effectively
A tidy, empty room saves time and reduces unexpected costs on the day of work.
Start by clearing furniture and soft furnishings. Move items into another room or stack centrally and cover. This keeps the process safe and lets contractors work faster.
Check the walls for loose plaster, small holes and scuffs; painting tips and advice cover prep in depth. Patching and light sanding are an essential step that prevents future problems and ensures the paint will adhere well.
“The JTS and I had our guest bedroom ready in less than three hours, including a trip to the store.”
Visit your local store before the job. Pick up fillers, sandpaper, drop sheets and a basic brush set. Being ready on arrival reduces wasted time and labour charges.
- Clear furniture and valuables.
- Inspect and mark wall faults.
- Collect materials from the store.
- Confirm access and timeline with the contractor via our platform.
Tip: a well-prepared home lets painters focus on quality rather than handling extra moving or repairs.
| Task | Approx. time | Why it matters |
|---|---|---|
| Clear furniture | 30–60 mins | Improves safety and speed |
| Wall checks & minor repairs | 45–90 mins | Ensures smooth, lasting finish |
| Materials run at store | 30–60 mins | Reduces on-site delays |
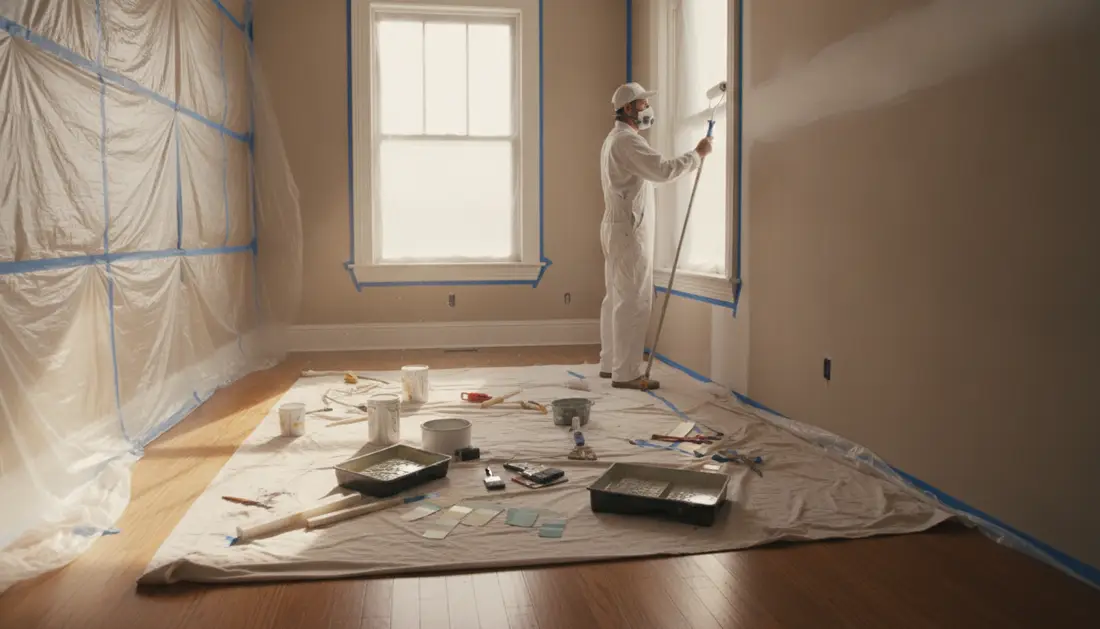
Clearing and Protecting Your Living Space
Good furniture handling and solid floor protection cut downtime and keep quotes accurate. Treat this as a simple, cost-saving step before any paint work starts.
Furniture Management
Move large furniture to the centre of the room and cover it with plastic. This protects surfaces and reduces the risk of damage during work.
Make sure items that cannot move are well wrapped and labelled. Proper furniture management helps the painter move freely and finish faster.
Floor Protection
Place drop cloths over the whole floor area. Using high-quality drop cloths prevents accidental spills from reaching your finish.
- Move large items centrally and cover with plastic.
- Use painter tape to secure plastic and cloths to baseboards.
- Ask contractors via our platform if they bring their own drop cloths or if you should supply them.
Always check coverings are tightly fastened so no paint reaches your floor. This small step saves cleaning time and potential repair costs.
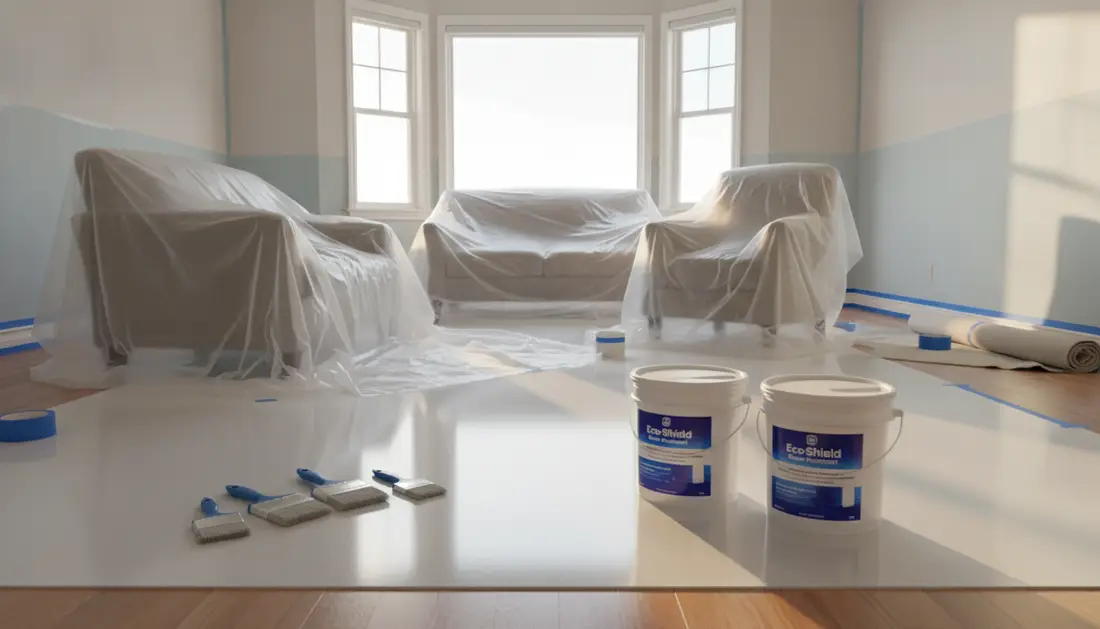
Essential Wall Surface Repairs
Fixing holes and smoothing damaged areas makes the final paint work look professional and last longer.
Patching and sanding are the critical prep steps that reduce rework and extra cost. Repair small holes in the walls and ceiling with a quality filler suitable for plaster or drywall.
After the filler dries, sand the repaired areas with 220-grit sandpaper. This creates an even surface for primer and the next coat.
Remove all sanding dust from walls and baseboards before any primer is applied. Use a vacuum and a damp cloth so the paint bonds correctly to the surfaces.
Patching checklist
- Repair holes with a good filler that matches your wall surface.
- Sand patched areas with 220-grit for a uniform surface.
- Vacuum and wipe down dust from walls and trim before priming.
- Ask your contractor to handle hole repairs in ceiling and walls if you prefer.
- Apply a high-quality primer over repaired sections prior to the final coat.
| Task | Recommended material | Typical time |
|---|---|---|
| Fill small holes | Polyfilla or spackle | 15–30 mins |
| Sand repaired areas | 220-grit sandpaper | 10–20 mins |
| Dust removal | Vacuum + damp cloth | 10–15 mins |
| Prime repaired surfaces | Quality primer (stain-blocking) | 30–45 mins |

Cleaning and Priming Techniques
A clean surface is the single best investment for a long-lasting finish.
Wash your walls with warm water and a damp rag or sponge. Start at the top and work down. This prevents streaks and keeps dust from becoming trapped under the paint.
Cleaning thoroughly removes grease and grime that stop paint from bonding. Once dry, check which areas need prime, such as repaired patches or darker colours that may bleed through.
Use a quality primer on ceilings and walls before the top coat. Primer evens the surface and often reduces the number of coats you need. That saves time and lowers total cost.
Our platform connects you with contractors who value pre-paint cleaning. They can advise which surfaces need primer and the best way to tackle problem areas.
| Task | Recommended action | Why it matters | Typical time |
|---|---|---|---|
| Wash walls | Warm water + sponge, top-down | Removes dirt for better adhesion | 20–40 mins |
| Dry & inspect | Air dry then check repairs | Identify areas that need primer | 15–30 mins |
| Prime ceilings & walls | High-quality primer, one coat | Improves finish and reduces coats | 30–60 mins |
Managing Fixtures and Hardware
Small fixtures and hardware make a big difference in the final finish; deal with them early.
Switch Plates and Outlets
Remove the plates from light switches and electrical outlets and set them aside for reinstallation later. This step gives painters clean edges and saves time on touch-ups.
Bag outlet covers and screws carefully and label sets by location. That keeps parts safe and avoids extra site visits or replacement costs.
- Make sure you remove all outlet covers and switch plates before work starts for a neat finish.
- Use painter tape on fixtures you cannot remove to protect light switches and outlets from stray paint.
- Discuss with our platform contractors how they handle trim, baseboards and ceiling fittings.
- A professional will protect walls and hardware so the final coat looks perfect.
“Careful hardware management saves time and keeps quotes accurate.”
| Task | Why it matters | Approx. time |
|---|---|---|
| Remove outlet covers | Clean paint lines around switches | 5–10 mins per outlet |
| Bag & label screws | Prevents loss and rework | 5 mins per set |
| Protect fixed fixtures | Stops accidental paint on lights and trim | 10–20 mins per fixture |
Professional Tips for Empty Room Efficiencies
An empty space shortens labour hours and often trims the final quote. When you clear out furniture the painter gains full access to walls and the ceiling. That saves time and reduces onsite handling costs.
You may need to move furniture into another room, but that small step usually speeds the job and lowers overall project cost. Ask contractors on our platform if they include furniture moving in their quote.
Use professional-grade drop cloths and plastic sheeting to protect the floor and baseboards. Good cloth and plastic save cleaning and repair bills later.
- A clear room lets the painter work uninterrupted, which often shortens time estimates.
- Visit your local store and buy enough supplies so the job proceeds without delays.
- Ask contractors for extra tips via our platform to make the painting room process smoother.
“A vacant area gives painters better reach and a neater finish.”
Navigating Lived-in Realities and Safety
Living spaces bring extra challenges: electronics, alarms and pets change the prep you need.
Managing Electronics and Alarms
Cover TVs, alarms and sound systems with plastic and secure edges with painter tape. This prevents dust and stray paint from damaging delicate parts.
Label leads and keep small parts with their devices. Check that outlet covers and light switches are protected before any primer or top coat is applied.
Pet Safety During Renovations
Keep pets well away from the active area. Paint fumes and wet surfaces can harm animals and lead to tracked marks on walls and baseboards.
Arrange a quiet, ventilated space for pets with food and water until the job is complete.
Washing Surfaces for Adhesion
Clean surfaces, including walls, trim and ceiling, with warm water and a mild cleaner. A clean surface helps primer and paint adhere, reducing the need for extra coats.
If you have holes in the wall from previous decor, fill and sand them before the painter arrives. This small step saves time and often reduces the final cost.
“Good ventilation and careful protection make the process safer and keep quotes accurate.”
Finalising Your Project for a Flawless Finish
Finish checks make the final difference between a tidy job and costly touch-ups.
Remove painter tape while paint is still slightly tacky. This reduces peeling and keeps crisp edges on walls, trim and ceiling.
Apply at least two coats of your chosen top coat for best hide and colour depth. If sections need prime, confirm primer use with your contractor before the final coat.
- Do a final inspection of walls, ceiling, trim and light fittings for missed spots and dust.
- Confirm the terms and any warranties in writing with your contractor before they leave your home.
- If you have leftover paint, store it in a cool, dry place or at your local store for future touch-ups.
Small details save money: remove any visible dust with a soft cloth and check filled holes for shrinkage. Re-tidy furniture coverings and clear plastic sheeting once surfaces are fully dry.
| Final task | Why it matters | Typical time |
|---|---|---|
| Remove tape | Prevents paint pull and keeps clean lines | 5–15 mins |
| Inspect surfaces | Catch missed spots before warranty period | 10–30 mins |
| Store leftovers | Easy touch-ups and colour matching later | 5 mins |
Visit paintingpricepersquaremeter.co.za to request up to 3 quotes and confirm what each painter includes in the job. These final tips will help your project look its best and last longer.
Finalising Your Project for a Flawless Finish
Finish-line checks save time and stop small faults becoming costly repairs. Remove tape while the final coat is slightly tacky and inspect each surface for missed spots, holes or dust.
Make sure the walls, ceiling and trim are even and dry. Check areas that needed primer and note any shrinkage in patched holes. Keep loose items, furniture and plastic covers clear so the painter can finish the job without delay.
Confirm warranties and the project scope in writing with your contractor. Visit paintingpricepersquaremeter.co.za to request up to three quotes and compare cost, materials and timing. These tips help your home look professional and last longer.
FAQ
What should I do first when planning a painting project in South Africa?
Start with strategic planning: choose your colour and finish, measure wall area in square metres, and set a budget that includes paint, primer, labour and minor repairs. Confirm timelines with contractors and request up to three quotes (or up to five where available) from independent painters before committing.
How do I choose the right paint type and finish?
Select water-based acrylic for most interior walls; use satin or eggshell for high-traffic rooms and flat for lounges or ceilings. Consider washable finishes for kitchens and bathrooms. Check brand options like reputable paint brands for locally available products and compare cost per litre and coverage (m²/litre).
What factors affect painting costs per square metre?
Cost depends on surface condition, number of coats, need for primer, type of paint, labour rates, access (scaffolding or ladders) and repairs like filling holes or replacing skirtings. Get contractors to quote unit rates per m² and list exclusions such as wallpaper removal or extensive plaster repair.
Do I need to clear furniture from the room?
Yes. Move items out where possible. For large pieces that remain, push to the centre and cover with drop cloths or plastic sheeting. Clear shelves, wall hangings and small decor. This speeds work and reduces the risk of accidental damage or overspray.
How should I protect floors and fixtures?
Use heavy-duty drop cloths or dust sheets on floors, secure with blue painter’s tape at edges. Cover skirtings, window sills and fixed cabinets with plastic or paper. Remove or mask hardware, light fittings and curtain poles to protect surfaces and keep edges clean.
What repairs are essential before painting walls?
Fill holes and cracks with suitable filler, sand smooth when dry, and remove loose paint. For new plaster, allow proper curing and prime before topcoats. Large defects or damp must be fixed by a specialist before decorating to avoid paint failure.
When is priming necessary?
Prime bare plaster, stained areas, repairs, new drywall and surfaces previously coated with oil-based paint if switching to water-based. Primer improves adhesion and reduces the number of topcoats needed. Your painter should note primer requirements in the quote.
How do I manage switch plates, outlets and fittings?
Switch off power at the consumer unit and remove switch plates and outlet covers where possible. Label and store fixings safely. If you prefer not to remove electrical faceplates yourself, request the painter or a qualified electrician handle them on site.
What cleaning should I do before painting?
Dust and wipe walls with a dry cloth or sugar-soap for greasy areas, especially behind cookers. Rinse and let dry. Clean surfaces improve adhesion and a longer-lasting finish. Avoid heavy scrubbing that might damage plaster.
How do I protect electronics, alarms and smoke detectors?
Remove or cover electronics and disable alarms per manufacturer guidance. Keep batteries in a safe place. If devices cannot be removed, mask them with plastic film and painter’s tape to prevent paint ingress and ensure they function after works.
What precautions for pets during painting?
Keep pets out of the work area and ideally off-site for the day. Close windows to limit dust and fumes; ventilate after painting. Store pet food and bowls away from dust sheets. Discuss any concerns with contractors about odour and ventilation.
How many coats will my walls need?
Most jobs require two coats of topcoat over a suitable primer. Dark or bold colours, or covering a strong contrasting shade, may need extra coats. Your painter should state the expected number of coats and allow for touch-ups in the quote.
What about drying and ventilation times?
Drying depends on paint type, humidity and ventilation. Water-based paints usually dry to touch within 1–2 hours and can be recoated after 4–6 hours in good conditions. Allow 24–48 hours before light use and 7 days for full cure. Improve ventilation to speed drying.
How should I handle skirtings, cornices and trim?
Mask trim with painter’s tape or remove it for a cleaner finish. Sand and clean timber trim, prime bare areas and use appropriate enamel or trim paint. Ask the contractor whether trim is included in the quote and whether they’ll use undercoat plus two finish coats.
Can I paint if there is mould or damp present?
No. Address mould and damp before painting. Treat mould with a suitable fungicide and resolve moisture sources, such as leaks or poor ventilation. Painting over the issue will cause premature failure and reoccurrence.
What should be included in a written quote?
Confirm paint brand and colour, litres and number of coats, primer needs, surface repairs, labour costs, start and finish dates, access requirements and warranty terms. Note exclusions like wallpaper removal, major plaster repairs or specialised trades.
How much notice does a contractor need for a site visit?
Typically 24–72 hours’ notice is sufficient, but busy painters may need longer. Book multiple contractors for quotes close together so you can compare pricing and availability. Request that quotes specify a validity period and any call-out fees.
What safety gear and products should painters use?
Painters should use dust masks for sanding, gloves, eye protection and ladders or scaffolding with safe access. They should use quality painter’s tape, drop cloths and suitable fillers and primers. Confirm these provisions before work starts.
How do I decide between DIY and hiring a professional?
DIY suits small, simple rooms and tight budgets. Hire professionals for larger jobs, tricky surfaces, high ceilings or when you need speed and a warranty. Compare labour costs versus time, tools and potential rework when budgeting per m².
When can I replace furniture and soft furnishings after painting?
Return furniture after 24–48 hours for water-based paints in dry conditions, but start with lightweight items and avoid leaning heavy pieces against fresh walls. Wait a full week before rehanging curtains or artwork to prevent marks during the final cure.
How do I maintain newly painted walls?
Allow full cure, then dust with a soft cloth. Clean marks with a mild detergent solution and a soft sponge; avoid abrasive cleaners. For high-traffic areas, choose washable paints and perform touch-ups as needed to preserve appearance.
Related painting cost guides
Ready to compare?