

How Many Coats of Paint Do You Really Need?
One, two, or three – colour change, surface porosity, and primer choice decide, not habit
Quick answer
How many coats of paint you really need – colour changes, porous plaster, primers, and the few cases where one coat is genuinely enough on SA walls.
10 min read
On this page
How many coats of paint do you need in South Africa for the best value and lasting finish? At paintingpricepersquaremeter.co.za our platform gives clear pricing guidance so you can budget with confidence before you start your project.
New walls usually need one coat of drywall primer and two coats of finish paint for full coverage. Quality products matter; a quality primer-and-topcoat delivers better coverage and colour hold than cheaper alternatives.
Whether you are refreshing a single room or repainting entire homes, the right number of coats affects look, durability and long‑term cost. Our pricing guidance explains labour, prep work, access and drying times so you know what to expect.
Use our data to avoid underestimating coverage. We connect you with independent contractors and local painters who adapt their approach for each wall and plaster surface, saving time and protecting your investment.

Understanding how many coats of paint you need
A clear plan for layers on your walls keeps the job on budget and lasting longer.
The rule of thumb
For most interior work, apply one coat of primer, then two topcoats for consistent colour and durability.
If you use a high-quality product with primer built in, you can often skip a separate primer and apply two coats instead, though painting over dark colours may need more.
Primer versus topcoat
Primer seals new plaster and stops the wall from soaking up finish product, which trims paint and material costs. That improves coverage and reduces wasted product.
Water-based products allow a second coat after about two hours. Oil-based options usually need around 24 hours before you can recoat.

- A dedicated one-coat ceiling paint is a genuine one-coat product for many ceilings.
- Professional teams factor drying time into the schedule and pricing; longer drying increases labour time.
- Two topcoats typically give a better finish and longer-lasting results than a single layer.
“Plan the job around drying times and product quality — it saves rework and reduces lifetime cost.”
The impact of surface materials and preparation
Different materials demand different layer counts and preparation to reach a lasting finish — helpful painting guides explain each surface.
New plaster and drywall
New plaster and bare drywall are highly porous. They soak up product and waste coverage if left unsealed.
Recommendation: one coat primer then one topcoat on new drywall gives good coverage and prevents seams from showing.
Finished versus unfinished wood
Unfinished wood needs two full coats of primer to seal the fibres. After that, a single topcoat usually achieves an even colour.
Finished wood is less thirsty. One coat primer and one coat paint often suffice for a uniform finish.
Metal and vinyl surfaces
Metal needs strong adhesion. Apply two coats of primer and then one finishing coat for durability.
Vinyl siding normally requires two finishing coats. Spraying gives the most uniform coverage.
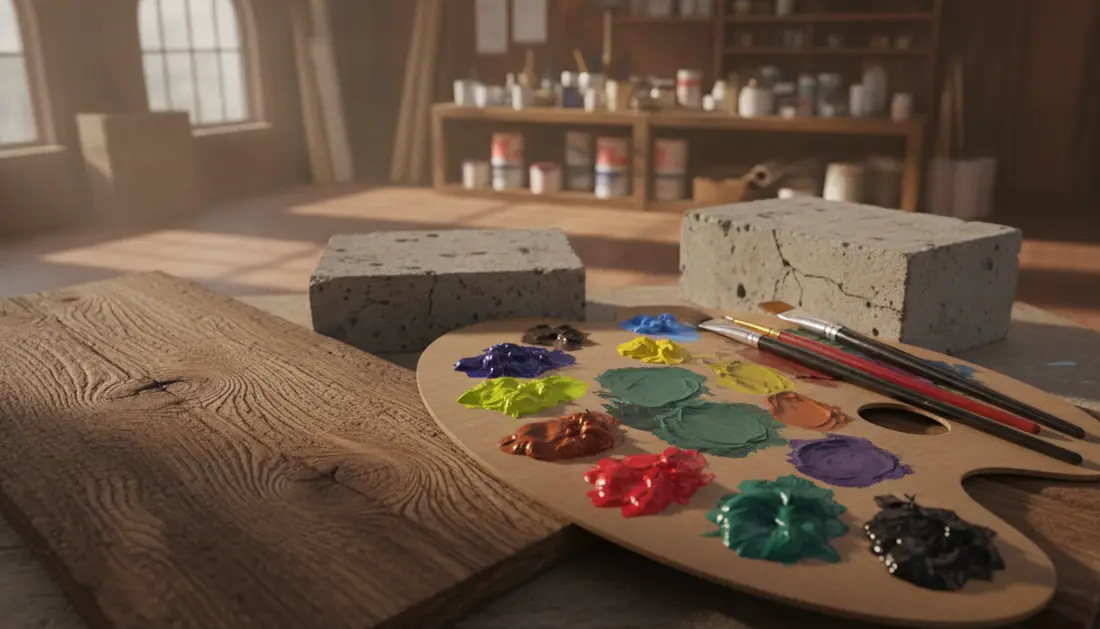
- Proper preparation is the main factor that determines the number of coats paint need for durable results.
- High‑quality primer on new drywall stops seam show‑through and cuts rework.
- Our platform helps you estimate total layers for your South African project and compare contractor quotes.
| Surface | Typical primer | Topcoat layers | Notes |
|---|---|---|---|
| New plaster / Drywall | 1 coat primer | 1–2 coats | Porous — prime to avoid waste |
| Unfinished wood | 2 coats primer | 1 coat finish | Seal grain for colour consistency |
| Metal / Vinyl | 2 coats primer (metal) | 1–2 coats finish | Use dedicated primers and consider spraying vinyl |
“Proper surface prep cuts labour and material costs and delivers a longer-lasting finish.”
Managing colour transitions and coverage expectations
Moving from a dark shade to a pale tone usually creates coverage challenges you should plan for.
Practical rule: dramatic colour shifts often need an extra layer to reach full opacity. Dark colours can show through as the finish dries, so expect to budget for a third coat in some areas.
Wet paint can mislead you. A single wet coat may look perfect, but it shrinks as it dries and reveals the old colour beneath. That is why a second coat is essential for a professional look.
- Transitioning to light shades may require three coats for full coverage.
- High-quality paints reduce the number of coats needed, but very dark surfaces may still need a third coat.
- Test a small sample on each wall and ceiling to confirm whether one, two or three coats will be required.

| Scenario | Expected primer | Typical number coats | Advice |
|---|---|---|---|
| Dark to light walls | 1 coat primer (recommended) | 2–3 coats | Budget for an extra coat and test samples |
| Light walls in good condition | Primer optional | 1–2 coats | One coat can suffice if surface is sound |
| Ceilings and large areas | 1 coat primer | 2 coats | Allow time between coats for consistent finish |
“Plan for a second coat — and consider a third when switching from deep to pale colours.”
Environmental factors affecting paint application in South Africa
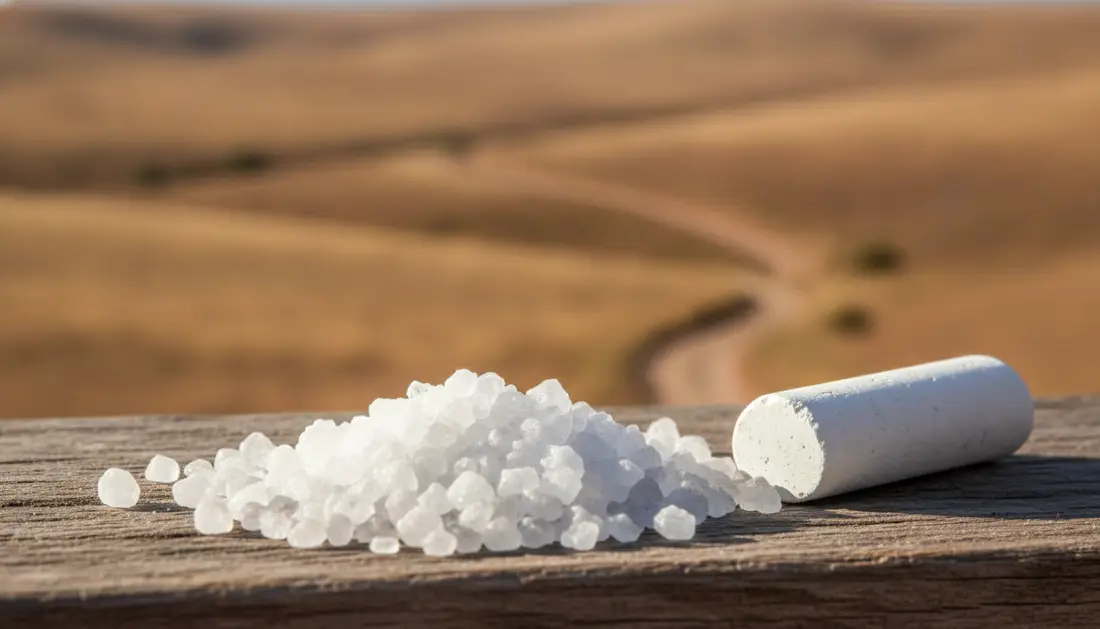
In coastal suburbs the climate changes the work you must do before finishing. Salt deposits and chalking weaken adhesion and can ruin a finish if ignored.
Dealing with salt and chalk
Clean first, then assess. Salt needs thorough washing and neutralising. Chalky plaster should be scraped and sealed so the top layers bond properly.
Consider an extra primer coat where residues remain. An extra coat primer often helps the finishing layers stick and improves long-term durability on exposed walls.
- Salt and chalk reduce coverage and may need extra sealing before the first coat.
- High-quality paints resist UV and fading better than low-cost alternatives.
- Allow longer drying times in humid areas — trapped moisture shortens the lifespan of a finish.
| Issue | Action | Effect on project |
|---|---|---|
| Salt deposits | Pressure wash and neutralise | May need extra primer; improves adhesion |
| Chalky plaster | Scrape, seal then prime | First coat acts as sealer; better coverage |
| High humidity | Longer drying between layers | Reduces peeling; increases labour time |
“Consult an independent contractor to confirm the number coats paint need for your local walls.”
Essential tools for a professional finish
A smart selection of equipment changes how many layers you actually need for full coverage.
Purdy Nylox brushes are our top recommendation for neat edges and faster cutting-in. They hold more product, so you lay paint thicker and reduce repeat passes.
Professional roller covers stop lint shedding and produce a smoother finish on large walls. A good roller frame adds control and cuts rework time.
- Thicker laydown: quality brushes put on more film, often lowering the number of coats you need.
- Smoother finish: specialist rollers prevent texture and improve final colour consistency.
- Second coat efficiency: good tools help the second coat cover thin spots from the first.
- Tool care: clean brushes and rollers correctly to keep coverage consistent across projects.
| Tool | Benefit | Effect on project |
|---|---|---|
| Purdy Nylox brush | High load, crisp edges | Fewer passes; better coverage on trims |
| Pro roller cover | No lint, even finish | Smoother walls; less rework |
| Quality frames & trays | Better control, faster work | Lower labour time and improved durability |
“Using the right tools is the difference between a DIY look and a professional paint job that lasts.”
Independent painters bring this kit and the know-how to judge one coat versus two coats on each surface. That saves time and reduces total material cost for your South African project.
Securing expert support for your painting project
Bring in professionals so the correct number and type of layers are applied to each surface.
Get a site assessment from independent contractors who will inspect walls and plaster, advise on primer, and decide whether one coat or two coats deliver the required finish and colour. This removes guesswork and limits rework.
Request up to three quotes via paintingpricepersquaremeter.co.za to compare pricing, labour and warranties. Professional painters confirm terms in writing so your paint job has documented coverage and quality for years.
Visit paintingpricepersquaremeter.co.za today to start your project and receive up to three local quotes from trusted contractors.
FAQ
What is the simple rule of thumb for coats required in South Africa?
The basic rule is two full coats of a quality topcoat for interior walls after one coat of primer on new or repaired surfaces. For exterior work, expect two topcoats plus primer on bare surfaces. This gives even coverage, better durability and a consistent finish across rooms and façades.
When should I use primer instead of going straight to a topcoat?
Apply primer when surfaces are new plaster, raw wood, bare metal, repaired areas or when changing from a dark to a light colour. Primer seals porous substrates, improves adhesion and reduces the number of topcoats needed. Always confirm primer type—stain-blocking or masonry—based on the surface.
Do newly plastered walls need a specific approach?
Yes. New plaster must cure fully (usually 7–28 days). Use a PVA sealer or specialised plaster primer to equalise suction, then apply a full primer coat followed by two topcoats. Skipping sealing risks patchy absorption and uneven sheen.
How many coats for finished versus unfinished timber?
Unfinished timber needs a preservative or primer plus two topcoats for protection and colour depth. Finished or varnished timber may only require light sanding and one topcoat if adhesion is good. Replace damaged or badly weathered timber preparation with a primer to ensure long-term performance.
What about metal and vinyl surfaces—any special requirements?
Metal needs a rust-inhibiting primer for outdoor work, then two topcoats. For aluminium and galvanised steel use a specific etch or adhesion primer. Vinyl (window frames, PVC trims) requires a compatible adhesion primer and usually one or two topcoats depending on the product’s coverage.
If I change from a dark to a light shade, how many topcoats should I expect?
Colour change from dark to light commonly needs an additional coat. After priming with a tinted primer or undercoat, plan for two to three topcoats to achieve full opacity and avoid colour bleed-through.
How do coastal conditions affect the number of coats and product choice?
Coastal properties face salt spray, UV and higher humidity. Use marine-grade or exterior paints with anti-corrosive primers for metal and mould-resistant formulations for walls. Add an extra topcoat or thicker system to improve durability and resistance to chalking and salt ingress.
What causes chalking and how can it be prevented on exteriors?
Chalking is surface deterioration from UV and age. Prevent it with high-quality exterior paint, proper primer, and adequate surface preparation—removing loose chalk before repainting and using a stabilising primer on chalky substrates.
Which tools help achieve a professional finish and may reduce the number of coats?
Use quality rollers (microfibre or wool for smooth walls, thicker naps for textured surfaces), quality brushes, spray equipment for large areas, and a good sanding block. Proper application reduces overwork, improves coverage and can cut down the need for extra touch-up coats.
When should I call a professional painter or request quotes?
Request a contractor when access is difficult, for large exterior jobs, or when special coatings are required. Get up to three quotes (or up to five where available) from independent contractors. Confirm scope, number of coats, primer type, brand of paint, labour, warranty and timeline in writing.
What factors most influence project cost and number of coats?
Costs and coat counts depend on surface condition and prep work, paint type and brand, colour change, substrate, access (scaffolding or lifts), labour rates and warranty requirements. Ask contractors to price per square metre and list the number and type of coats included.
Related painting cost guides
Ready to compare?