
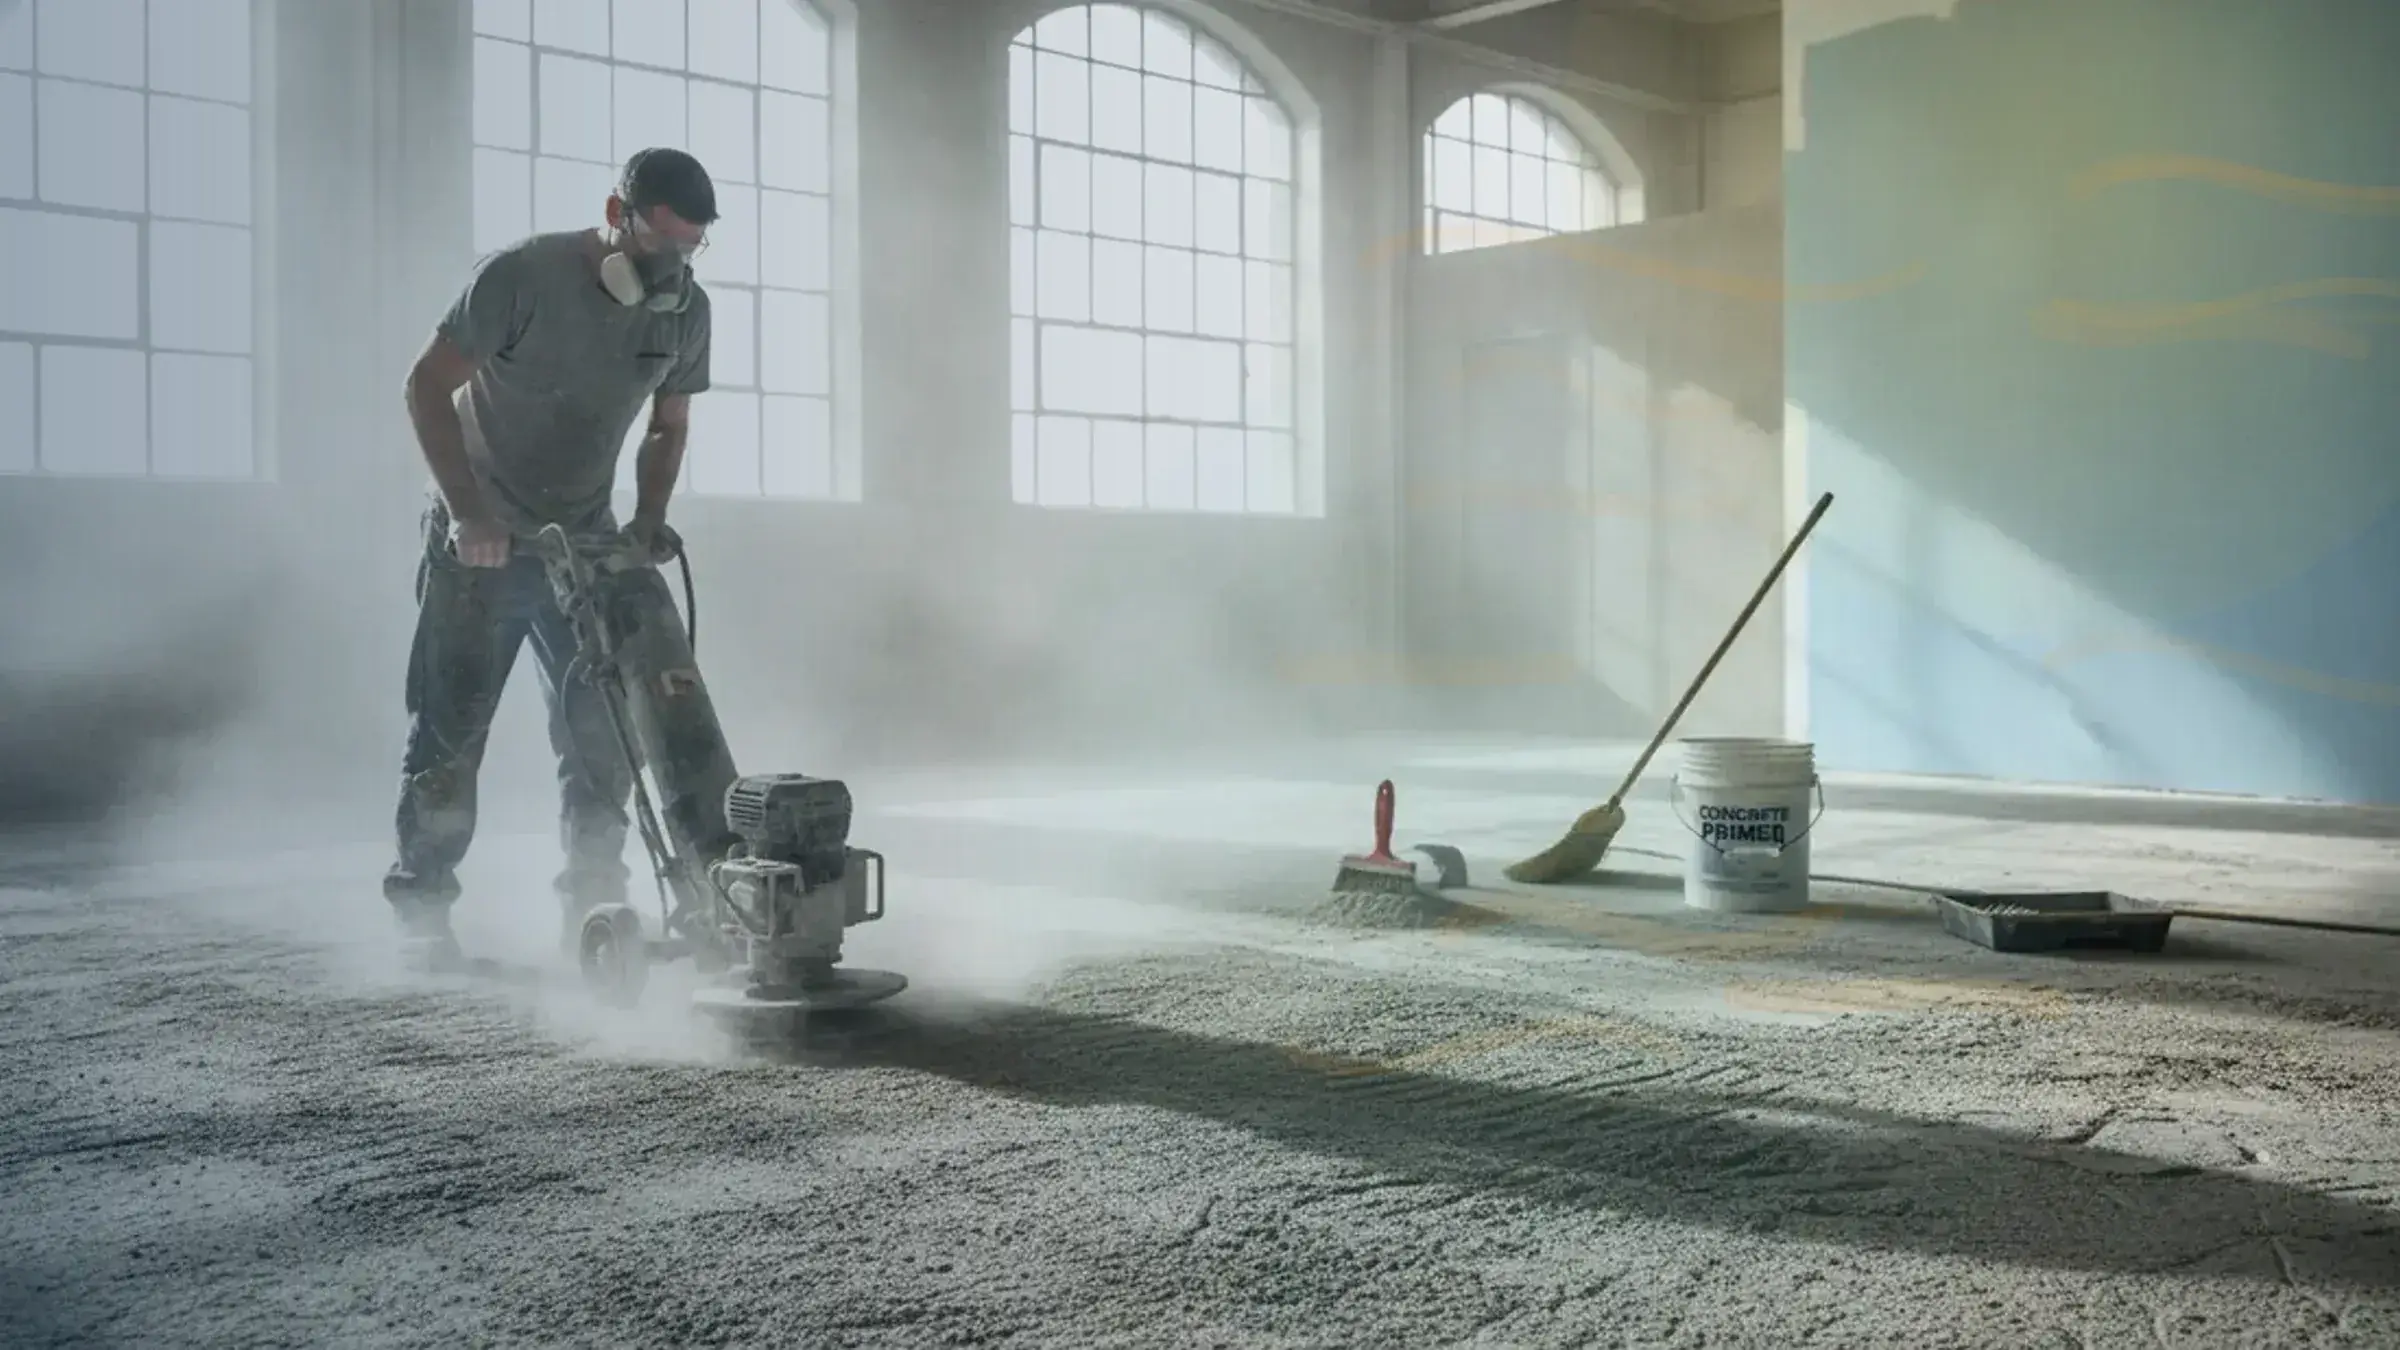
Preparing Concrete Floors for Painting
Grinding, etching, moisture tests, and patching – the prep that decides whether coatings stick
Quick answer
Preparing concrete floors for painting – grinding vs acid etching, moisture testing, oil-stain treatment and the patching that makes coatings stick.
10 min read
On this page
Are you sure you know the true cost and value of a painted concrete surface in South Africa?
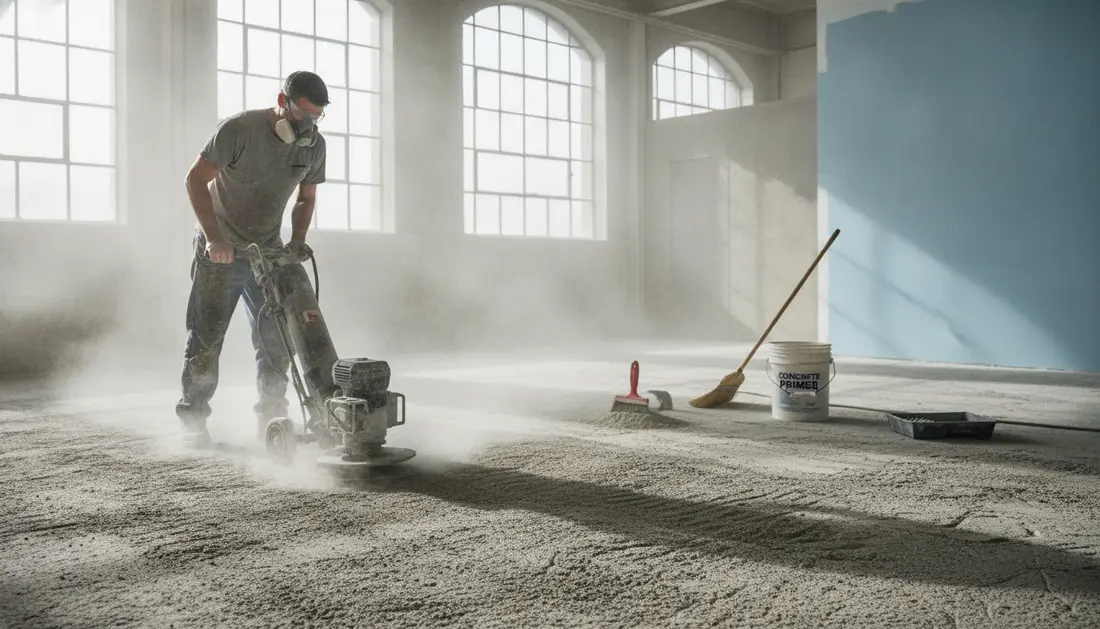
Our platform gives clear pricing guidance so you can compare quotes and decide with confidence.
You can request up to 3 painting quotes from independent contractors through our system. This helps you weigh product choice, labour and time against overall value.
Good preparation is the key to a long-lasting epoxy or acrylic finish. That means assessing moisture, etching or profiling, primer choice and any cement or masonry repairs first.
We spell out the steps you should expect, what to confirm in writing and common cost drivers such as surface condition, access and specialised products.
Use our pricing guidance to budget realistically and to find contractors who understand moisture and the right floor paint for durable results.
Understanding the Challenges of Preparing Concrete Floor for Painting
South African slabs present a mix of issues that affect how well any paint will stick and last. You must first identify moisture behaviour, surface dust and the slab age before budgeting time and labour against floor painting cost per square metre.
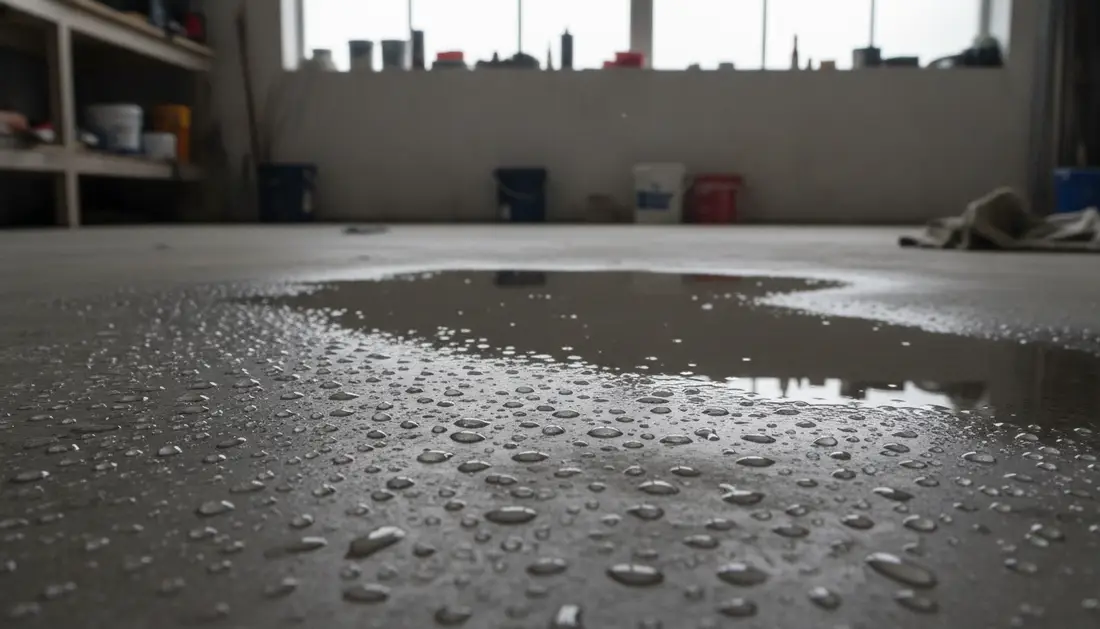
Typical South African Floor Conditions
Many homes and garages have power‑floated or dusty surfaces that need profiling, which guides epoxy vs floor paint choices. New slabs often contain trapped water; old slabs show hairline cracks from expansion and retraction.
- Dusty or unprofiled floors reduce adhesion and increase prep work.
- Traffic and vehicle oil in a garage demand stronger coatings.
- The cement mix and local climate alter drying time and cure rates.
The Impact of Rising Damp
Rising damp lets water move through a slab and lift paint layers; our painting guides cover damp prep. That bubbling and peeling will reappear if you skip moisture tests and vapour barriers.
| Condition | Likely issue | Prep priority |
|---|---|---|
| Power‑floated slab | Poor adhesion | Mechanical profiling |
| Rising damp | Paint blistering | Moisture testing & damp proofing |
| High traffic area | Wear and staining | Durable coating selection |
Essential Surface Cleaning and Degreasing Techniques
Start cleaning with a clear plan: remove loose debris, oil and dust so any paint bonds well.
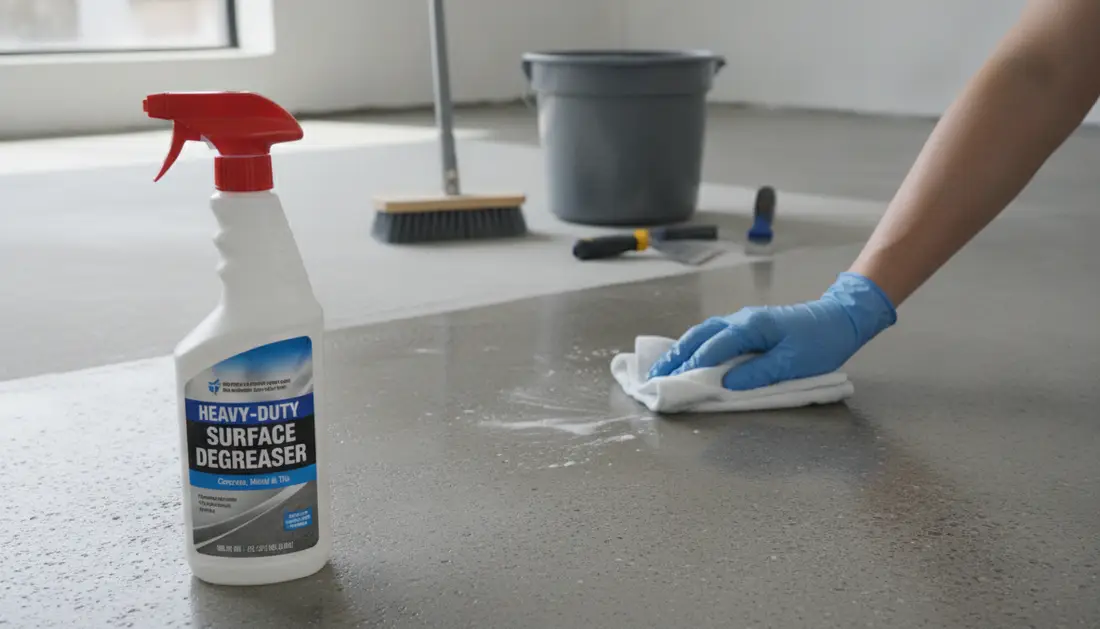
Begin by sweeping or vacuuming leaves, grass and small rocks. This reduces dust that will interfere with adhesion.
Use a pressure washer at no more than 1,750 PSI to avoid damage. Rinse thoroughly with clean water and let the area dry fully to prevent moisture problems.
For oil and grease stains, apply a quality degreaser and scrub with a stiff brush. Follow the manufacturer’s instructions and repeat until stains lift.
- Remove loose debris and dust.
- Apply heavy-duty detergent and agitate stubborn marks.
- Degrease oil spots, then rinse and dry completely.
If you find efflorescence, you can address it during the etching step to ensure the surface is ready for primer and paint.
| Issue | Recommended action | Why it matters |
|---|---|---|
| Loose dust & leaves | Sweep or vacuum | Prevents weak adhesion and dust finish |
| Oil and grease stains | Use degreaser + stiff brush | Removes contaminants that cause flaking |
| Residual salts (efflorescence) | Remove during etching | Stops paint lift and white staining |
| Surface debris | Pressure wash ≤1,750 PSI | Cleans deep without damaging the surface |
Tools to have: scrub brush, floor scrubber, stiff-bristled brush, degreaser and adequate ventilation in the space. Allow enough time so the surface is fully dry before the next step.
Repairing Cracks and Managing Moisture Issues
Repairing damaged areas and confirming dryness will save time and money when you later apply floor paint.
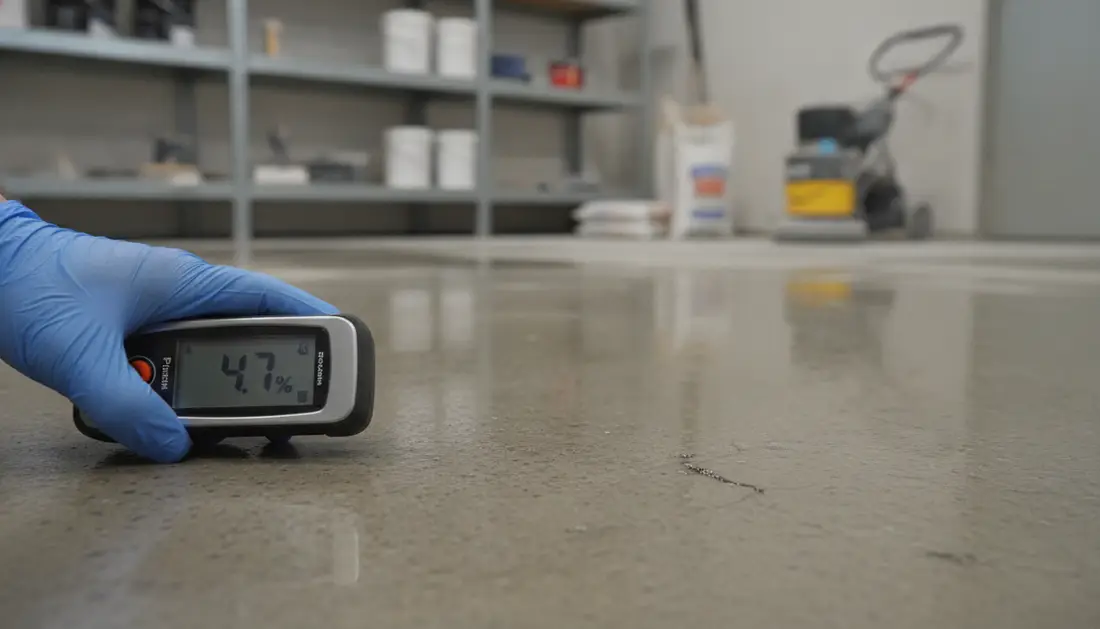
Check for trapped moisture: tape a 12” x 12” piece of 3‑mil plastic or foil to the surface, seal all edges and wait 24 hours. Remove the sheet and inspect the underside for dampness.
Testing and immediate actions
If the underside is damp, allow the slab to dry completely. Use a dehumidifier or increase ventilation to speed drying and avoid rushing the next step.
- After cleaning, fill cracks and holes with a quality patch to create a smooth surface for paint.
- At garage junctions, seal the join where the floor meets the walls to prevent water ingress.
- For fast watertight repairs, a hydraulic cement such as DRYLOK Fast Plug seals in 3–5 minutes.
Sand patched areas, remove any remaining dust or debris, then vacuum before applying a primer or sealer. Proper moisture management is as important as cleaning and degreaser work; it prevents paint failure on concrete floors.
Applying Etching Solutions and Primers for Optimal Adhesion
Start the adhesion stage by etching to remove salts and create a mechanical key on the surface. This step improves how paint bonds to a cement surface and reduces the risk of later failure.
Why etch? Etching clears salts, light contamination and weak laitance. It creates a profile so primer and floor paint penetrate evenly rather than sit on top.
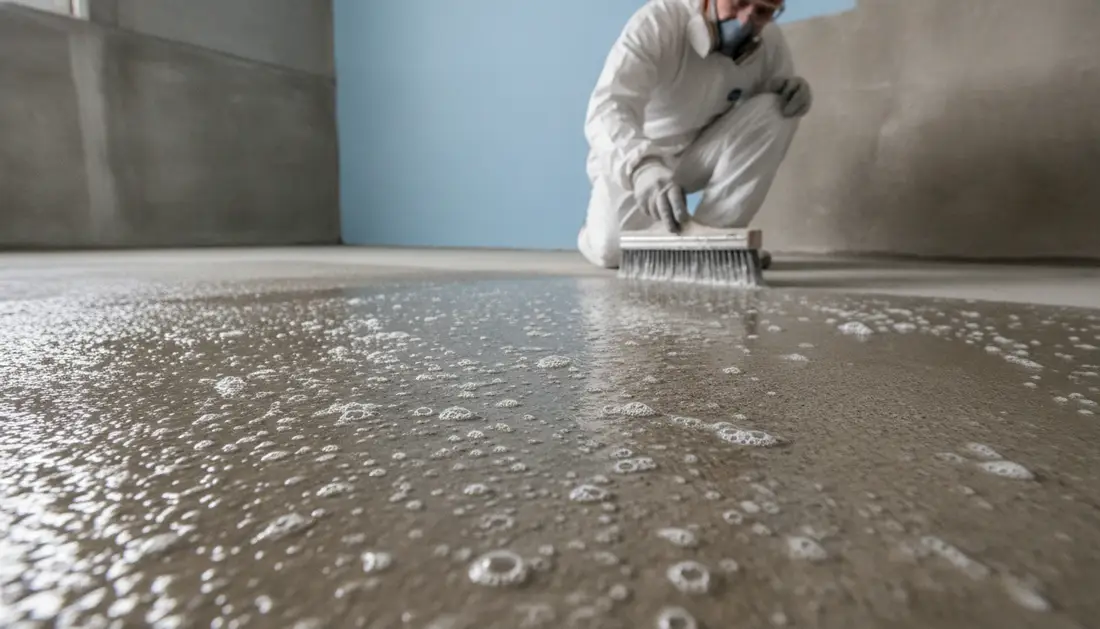
Use a safer option: DRYLOK Concrete and Masonry Liquid Etch & Clean cleans, etches and brightens in one pass. It is a practical alternative to muriatic acid and suits domestic projects.
- Apply the etch, rinse thoroughly and allow the surface to dry fully — never skip this drying step.
- Select a concrete-specific primer; follow label drying times (typically 6–8 hours).
- Cut in edges and corners with a brush, then use a roller for larger areas to ensure even application.
Safety and final checks: Wear gloves and eye protection when handling etching agents. Confirm the slab shows no residual moisture before you apply sealer, epoxy or concrete paint to achieve a long-lasting finish.
Achieving a Professional Finish and Long-Term Floor Protection
Professional results depend on correct application and curing. Work in sections and keep a wet edge when you apply paint so the coats blend neatly.
Use at least two coats and remember that 1 litre covers about 6–8m². The first coat needs around 4 hours to dry; avoid foot traffic for 24–48 hours.
After the final coat, allow 5–7 days before placing heavy furniture or cars in a garage. Using a clear sealer over the painted surface adds extra protection against spills and wear.
Use the right tools — a quality roller and brush — and confirm cure times with your contractor. Visit paintingpricepersquaremeter.co.za to request up to 3 quotes and compare contractors who handle sealer, epoxy and long‑term protection.
FAQ
What are the common South African floor conditions that affect paint adhesion?
Typical conditions include old cement screeds, worn masonry, surface laitance, dust, oil or grease stains from garages, and hairline cracks. Many floors show efflorescence or cement bloom after winter rains. These factors reduce adhesion unless you remove dust, degrease oily areas and repair damaged sections first. Check walls and skirtings too — contamination there will affect edges and trimming.
How does rising damp or trapped moisture affect floor coatings?
Moisture will lift paint and cause blistering or flaking. Rising damp from beneath a slab or moisture trapped inside newly laid slabs must be identified and remedied. Use a moisture meter or a taped plastic test (72 hours) to check vapour drive. If moisture exceeds product limits, apply a damp-proof membrane, allow the slab to dry, or use a vapour-tolerant epoxy or breathable masonry sealer designed for floors.
What cleaning and degreasing steps give the best result?
Start by removing loose debris and dust with a stiff broom or vacuum. Degrease oil or grease stains with a caustic degreaser or trisodium phosphate alternative, scrub with a stiff brush and rinse well. For heavy contamination, use a pressure washer and allow to dry fully. Final wipe-down with clean water and time to dry ensures primers and etching treatments bond correctly.
When should I use acid etching versus mechanical profiling?
Acid etching (muriatic/hydrochloric diluted solution) lightly opens the surface and removes laitance on smooth cement. Use it on sound slabs with light contamination. For high-traffic areas, glazed surfaces or where heavy contamination exists, mechanical profiling (grinding or shot-blasting) provides a stronger key. Always neutralise and rinse after acid etching and allow full drying before priming.
What primer or sealer types work best on older slabs?
Choose a primer based on surface condition and moisture. Solvent-based epoxy primers suit high-traffic garage floors and stained slabs. Water-based acrylic primers are fine for dry, sound cement. For damp-prone areas, use a vapour-tolerant epoxy or specialised masonry sealer. Confirm product limits for moisture content and follow manufacturer spread rates.
How do I repair cracks and holes before coating?
Clean out loose material, dust and oil from cracks. Use an epoxy or cementitious repair mortar for structural cracks and a polymer-modified filler for hairline cracks. For larger spalls, fill in with a repair mortar, compact and level. Allow repairs to cure fully and sand or grind flush before priming and applying the finish coat.
How long should I allow surfaces to dry between steps?
Drying times depend on temperature, humidity and product choice. After washing or etching, allow at least 24–72 hours in warm, dry conditions. Primers generally need 2–24 hours before topcoats, while epoxy systems require specific cure times (often 12–24 hours between coats and up to 7 days for full cure). Always follow the supplier’s technical data sheet and confirm on-site conditions.
What paint types are suitable for garage and industrial floors?
Epoxy floor coatings provide chemical and abrasion resistance and are common in garages and warehouses. Polyurethane topcoats add UV resistance and gloss retention. Water-based acrylics and specialist floor paints are cost-effective for light traffic. Match product to traffic levels, chemical exposure and moisture conditions, and check warranties from suppliers like reputable paint brands local brands.
How should I prepare edges, corners and skirting areas?
Mask skirtings and walls with painter’s tape and plastic sheeting. Clean edges thoroughly and use a small brush or roller for a neat cut-in. For a professional finish, seal gaps between skirting and slab with a flexible caulk where movement is expected. Remove tape within the recommended time to avoid peeling paint or leaving residue.
What tools and consumables will I need for a DIY job?
Essential tools: stiff broom, industrial vacuum, degreaser, stiff brushes, pressure washer (optional), acid etch kit or grinder for profiling, filler/trowel, primer and floor paint, rollers with extension poles, brushes for edges, masking tape and plastic sheeting. Also have personal protective equipment: gloves, goggles, respirator and rubber boots.
How does surface preparation affect overall cost per square metre in South Africa?
Surface condition is a major cost driver. Clean, sound slabs need only minimal prep and cost less per m². Areas needing degreasing, crack repairs, mechanical profiling or damp remediation add labour and materials, increasing the price. Expect higher quotes for garages with oil stains or commercial spaces requiring epoxy systems. Always request written quotes showing prep, paint type, labour and warranty.
How long before I can return furniture or traffic to the painted area?
Light foot traffic is often possible after 24–48 hours for water-based paint; heavier traffic and vehicle use usually require 3–7 days depending on the coating. Full chemical resistance and mechanical cure can take up to 7 days for epoxies and polyurethanes. Check the product datasheet and allow the full cure time to protect your finish.
What should I confirm in writing when requesting an on-site quote?
Ask that the quote lists surface preparation steps, products (brand and type), number of coats, coverage rates (m² per litre), labour hours, warranty terms, cure times, and any exclusions (e.g. rising damp remediation). Confirm whether site visits, scaffolding or special access affect price. Use that comparison to request up to 3 independent quotes from contractors.
Related painting cost guides
Ready to compare?